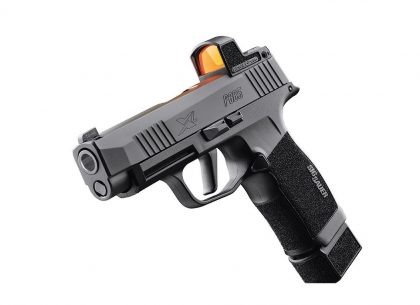
Dots can be good if they are zeroed correctly. If not, the dot won’t do.
![]()
![]()
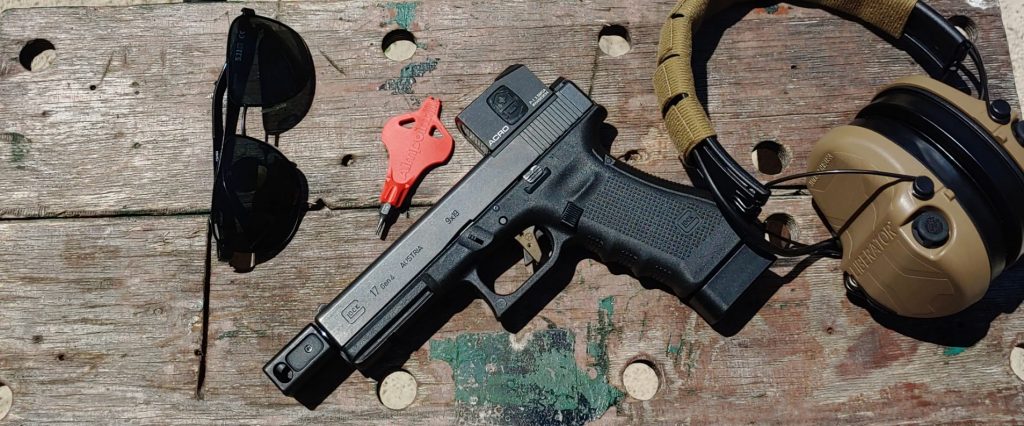
Are you getting hot and heavy with a red dot on your handgun? Sweet, there are many reasons why red dots are the future, but before you can walk into that neon inscribed cyberpunk world, you gotta know how to zero a handgun red dot. That can’t be hard, right? Well, no, it’s not hard, but it’s different than zeroing a rifle red dot. Let’s dive into how you zero a handgun red dot and get you and your gun ready for the future.
Do You Slave The Dot To The Irons?
Common advice is to zero your red dot to your iron sights. It makes sense, right? Why not? If your sights are on target, then your red dot will be on target. Well, no, not really. Iron sights and red dots work on different angles, lengths, and focal shift. Both can be accurate while having two different zeroes.
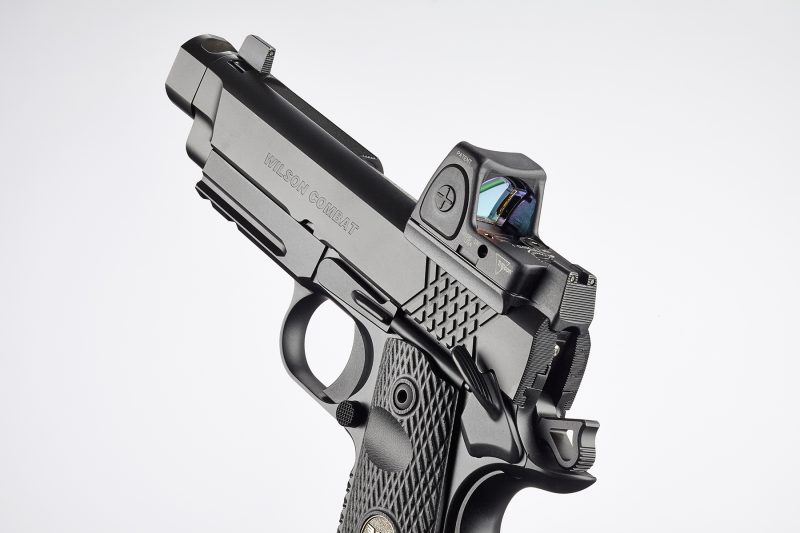
When you zero a handgun red dot, you don’t want it to be slaved to your iron sights. However, it’s a great place to start. Once you drop that red dot onto your pistol, you can start by dialing the dot down to your iron sights. I do a rough alignment to my iron sights because it will often get me on paper. From there, I fine-tune and properly zero a handgun red dot.
I find this method saves time and ammo, and both can be valuable.
Zero a Handgun Red Dot At Ten Yards!
Why ten yards? Well, that’s an easy one. It’s a handgun and, as a concealed carrier, I likely won’t need a long-range zero. Police and military forces may want a more distant zero, but for a concealed carrier, ten yards is perfect.
When you shoot out to 25 yards with a ten-yard zero, the zero difference only creates half an inch of drop. If you are in a gunfight at 25 yards, you’ll need to worry about human error more than .5 inches of drop.
What Target?
Well, any target will work for zeroing. Preferably a target with a bull’s eye you can dial into. I use B8 targets because they are cheap, require precision, and suit my needs rather well. I also love to shoot the 10-10-10 drill, which requires a B8 target. Target isn’t too important. Some defensive targets don’t have the necessary small target zones to aim at; that’s why I advise something with a clear bull’s eye.
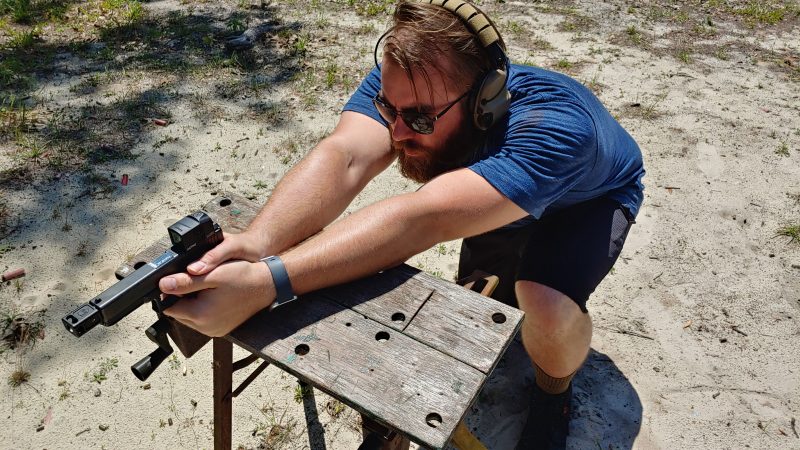
Supported Shooting Is A Must
Get a bench, get something you can rest your arms and gun on. This allows you to dial in consistent precision. You don’t need a vice to hold the gun, just something to rest your arms on to provide enhanced stability.
Time To Shoot
You have your range, your target, your shooting support, and now you are ready to zero a handgun red dot. Assume a comfortable shooting position, aim, and ensure you follow the fundamentals of shooting as you press the trigger. I use ammunition that’s close to my carry ammunition. So I carry 124-grain JHPs, so I zero with 124-grain FMJs.
I fire three rounds in a group and observe where they hit. Some fire up to five rounds, but I’ve always found three to be a solid starting point. Observe where those rounds have struck and adjusted as necessary.
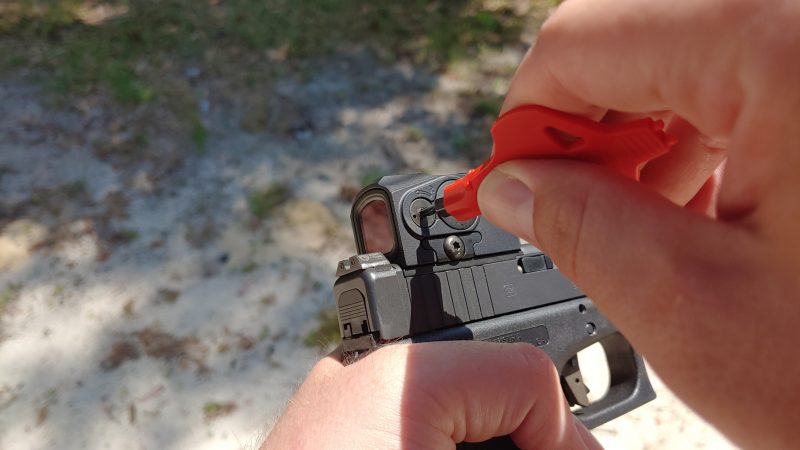
I adjust one direction at a time. I find it to be simpler and often quicker than trying to correct both elevation and windage at the same time. Elevation is easier to start with, so dial the red dot up or down as necessary. Adjustments should be conservative in nature. Handgun optics often have broad adjustments, so conservative adjustments make things simple.
Once my rounds are striking at the right height, I begin to work windage adjustments left or right as necessary. Again, I go conservative with my adjustments and fire three-shot groups. It’s also easier to swap targets before you begin your windage adjustments. Small targets with lots of holes can become annoying and confusing.
On Target
Once I get my handgun on target, I move to a third target. This clean target allows me to confirm my zero. Once my zero is confirmed, I’m done, right? Did I zero a handgun red dot? Well, yes, but we aren’t done yet. You’ve likely utilized range ammunition, right?
Well, if so, it’s time to load at least three rounds of the defensive ammunition you carry daily. You’ll need to ensure the zero you’ve established works with your defensive ammunition. It might be perfectly fine, or it might need some minor adjustments. An easy way to ensure your zeroes are identical is to use similar ammo for carry and zeroing purposes.
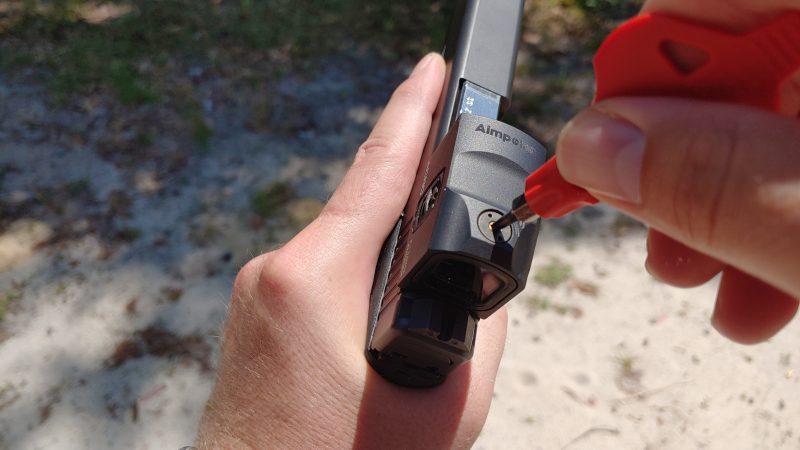
Once you’ve confirmed with your carry ammunition now, you can declare your red dot zeroed. Handgun red dots are extremely valuable and provide shooters with a tool to make them more accurate, faster, and extend their effective range.
However, step one is ensuring the red dot is zeroed properly. Hopefully, you know how to zero a handgun red dot, and if you have any questions, feel free to ask below.
ABOUT THE AUTHOR:
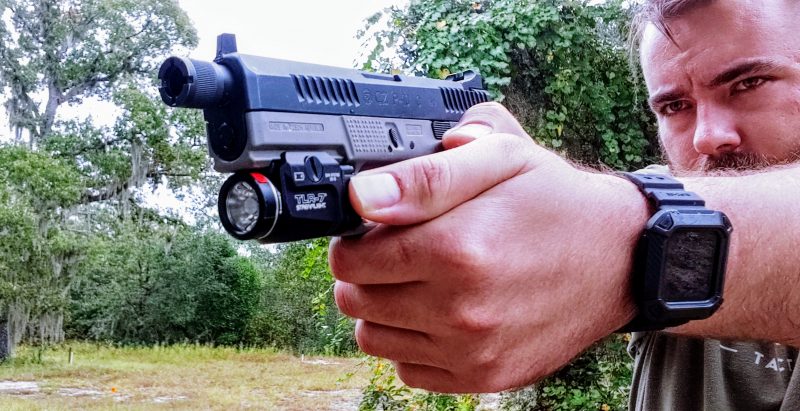
Travis Pike is a former Marine Machine gunner who served with 2nd Bn 2nd Marines for 5 years. He deployed in 2009 to Afghanistan and again in 2011 with the 22nd MEU(SOC) during a record-setting 11 months at sea. Travis has trained with the Romanian Army, the Spanish Marines, the Emirate Marines, and the Afghan National Army.
He serves as an NRA certified pistol instructor and pursues a variety of firearms-based hobbies.
![]()
You may also enjoy these popular articles:


©MTC Holsters, LLC and CrossBreed Holsters Blog, 2021.
Unauthorized use and/or duplication of this material without express and written permission from this site’s author and/or owner is strictly prohibited. Excerpts and links may be used, provided that full and clear credit is given to Travis Pike and the CrossBreed Blog with appropriate and specific direction to the original content.
![]()

This is great Travis. I am no stranger to handguns, but I am very new to red dot optics. I have installed the Leupold Delta Point Pro on my duty pistol and I would like to zero it. This breakdown is great and I will utilize when I get out to the range to zero.
Quick question(s): When making heigh adjustments; which way do you turn the dial to correct for left or right? Same question when adjusting for windage (Left/Right)?