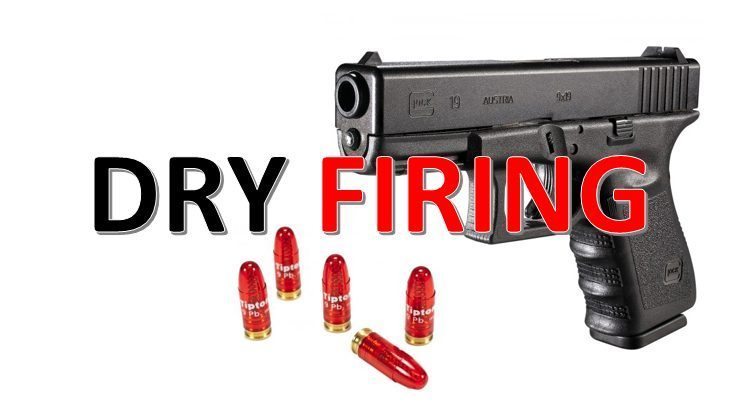
When it comes to improving your skills with firearms, dry-fire training is equally as important as live-fire training.
The term “dry-fire” means your magazine and firearm are “dry” of ammunition. The term “live-fire” refers to your firearm and magazine being filled with “live” ammunition. Training regularly with your firearm builds and maintains the neural pathways between your brain and muscles. This is how muscle memory is created. To become more proficient with firearms, your brain must be able to recall established actions. If you only handle a handgun once a year, you should expect low proficiency and accuracy. This is because you haven’t established the required neural pathways from your brain to your muscles.
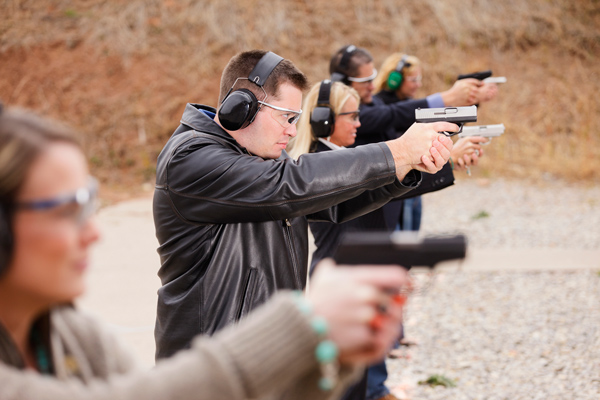
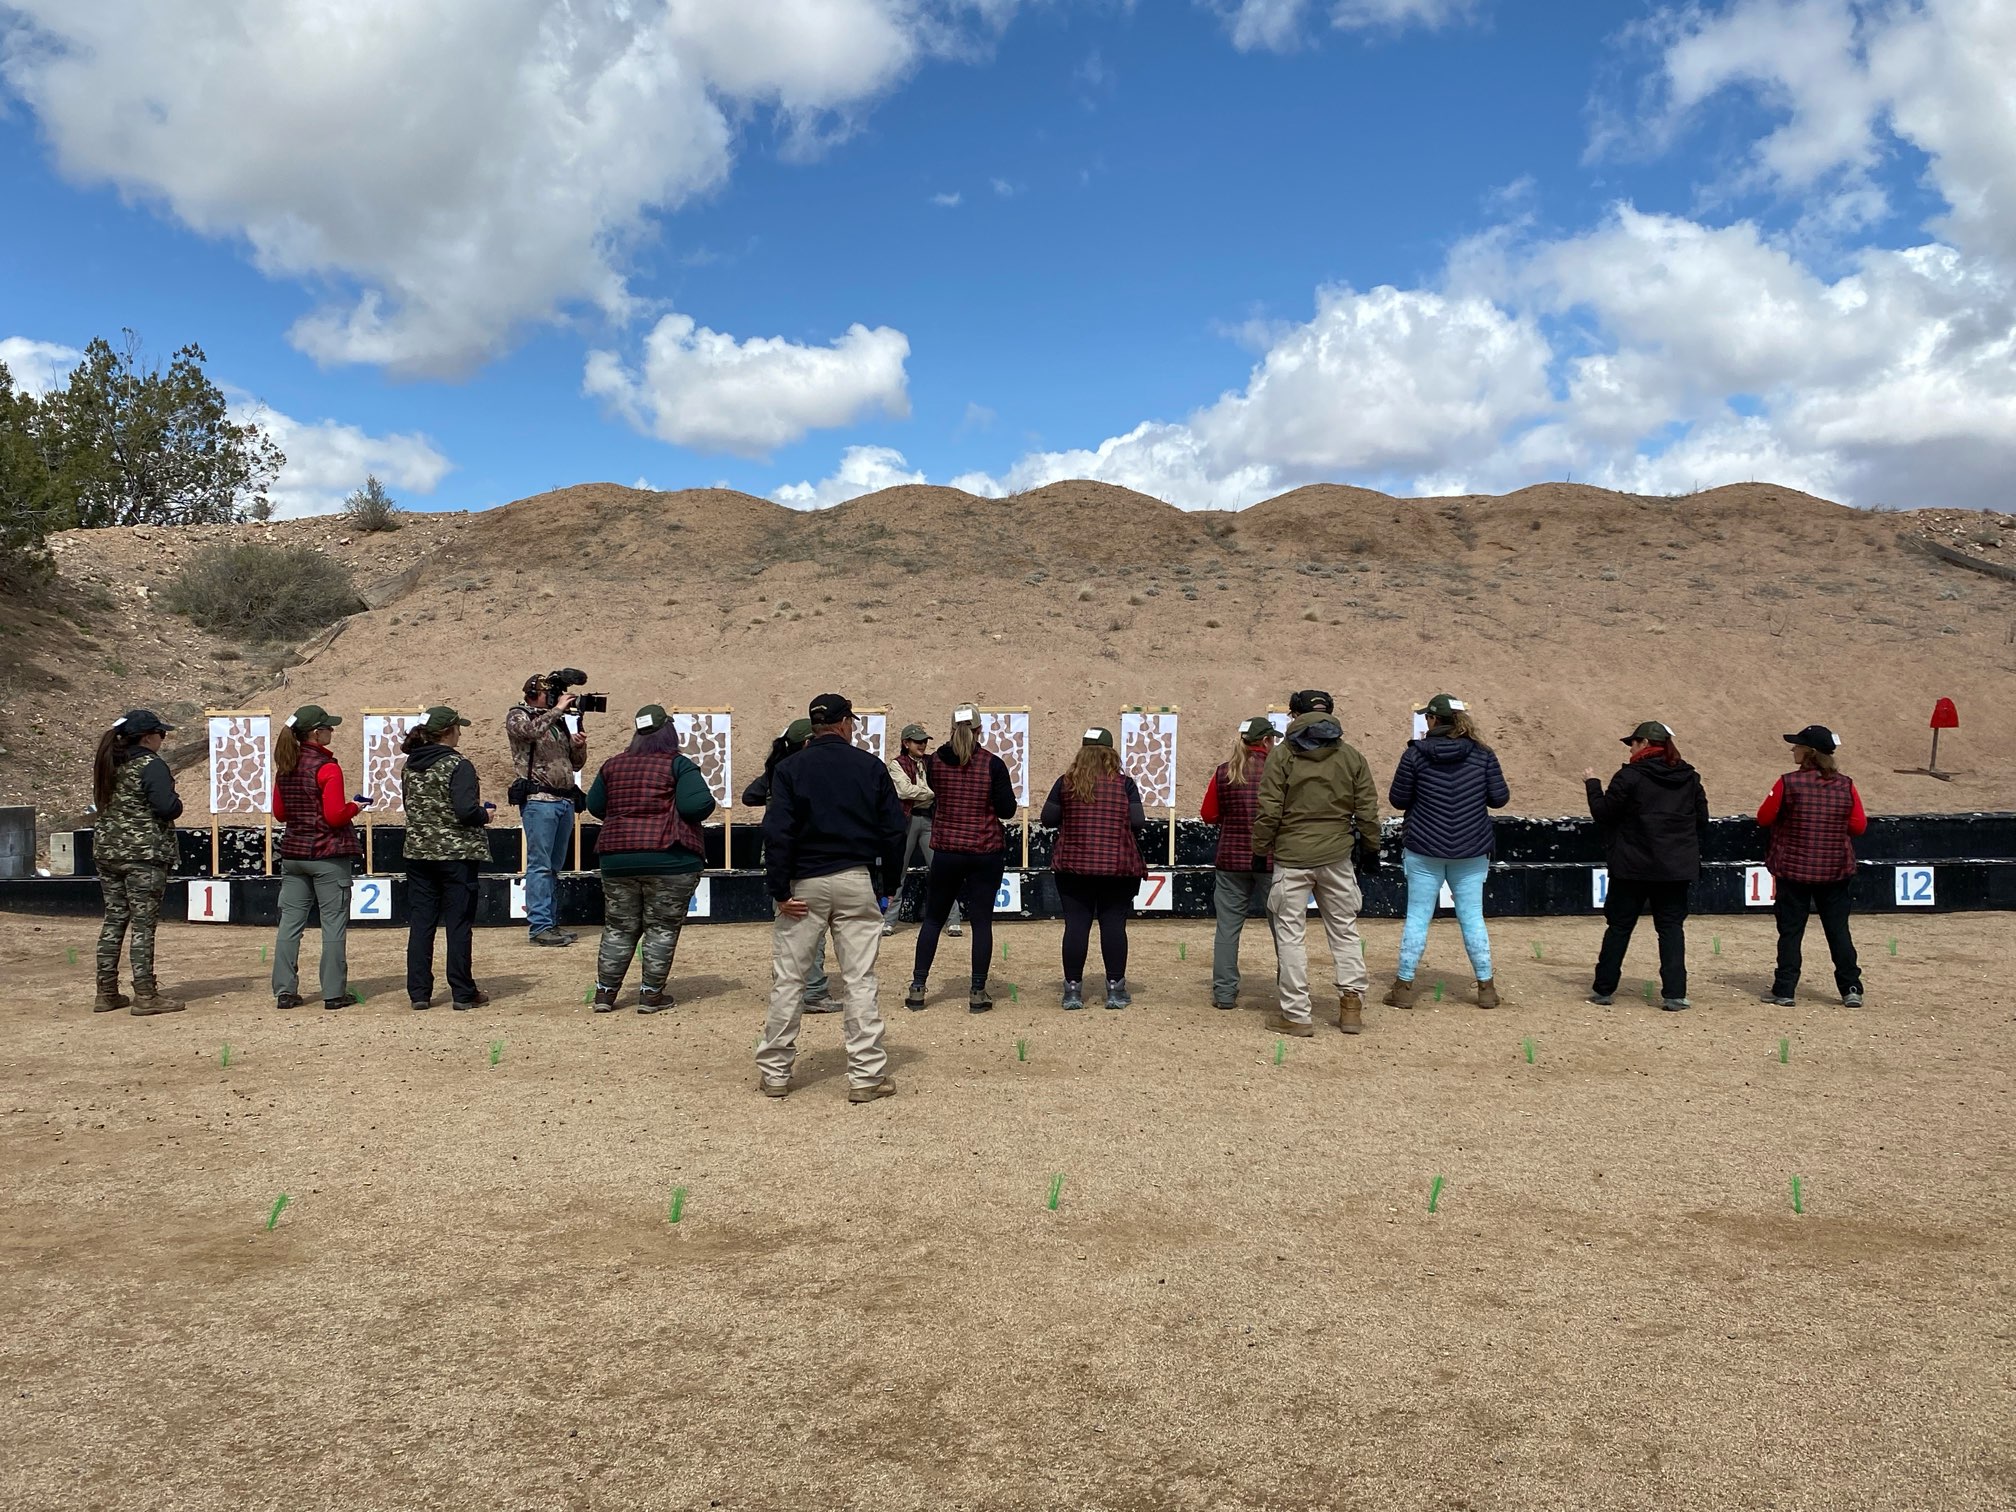
Live-fire training should only be practiced on a range. The area should have a built-up berm or bullet trap that can absorb the bullet after firing it. Some individuals may have a range set up in their backyard or own an indoor shooting range. Most people have to travel to a range for live-fire training. With dry-fire training, you can practice virtually anywhere, at any time.
Live-fire training can get expensive. Ammo isn’t cheap. For example, 9mm Luger ammunition can range anywhere from $0.20 to $1.00+ per round, depending on the type. In one session, you could use anywhere from 50 rounds to 1,000+ rounds, depending on the training requirements. Set a few goals to get the most out of the ammunition you use during your live-fire session. This will help you make the most of your training. If the cost of ammunition deters you from going to the range regularly, try incorporating dry-fire training into your practice. You won’t use any ammunition during dry-fire practice.
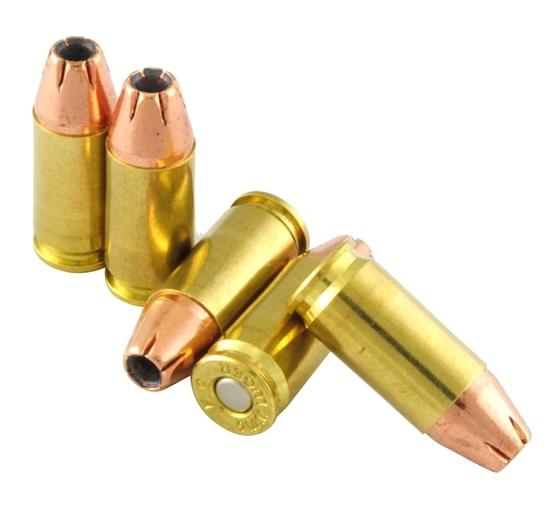
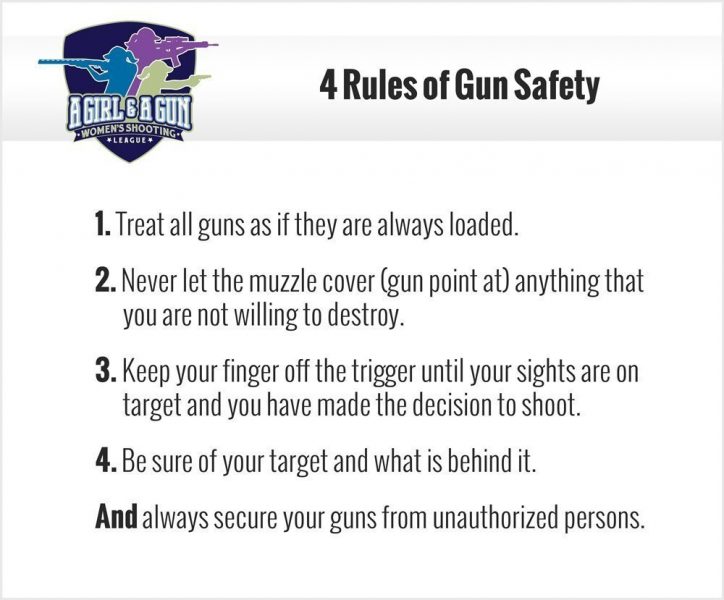
For your safety, during any dry-fire practice, triple-check that your firearm and magazine are free of ammunition and that your practice space is also free of ammunition. You don’t want to send a live round of ammo in an unintended direction. Whenever handling firearms, it is important to follow the 4 rules of firearms safety.
There are many drills and exercises you can practice to improve your skills during dry-fire training. Repetition is key to building muscle memory. Drawing from a holster is a perfect example of when you could use dry-fire training. Learning and understanding the tension of the holster and being able to draw and re-holster with ease are skills you can work on during a dry-fire session.

Notice the dry-fire example I provided doesn’t mention pulling the trigger of the firearm. For some firearms, like most Rimfires (i.e. .22LR or .17HMR), it is not recommended to pull the trigger without a round being chambered. This is because the firing pin strikes the rim of the cartridge, and when a cartridge isn’t chambered, the firing pin strikes the rim of the chamber instead. The firing pin and chamber could become damaged from the continual striking during dry-fire practice. Be sure to check the firearm’s manual before pulling the trigger of an unloaded firearm.
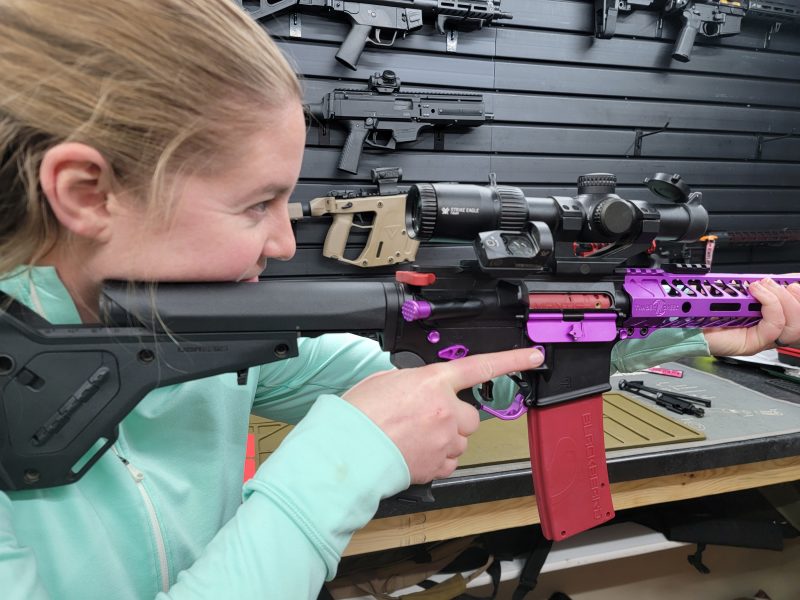
Besides holster drills, there are many other exercises that can be done during dry-fire training. Some require additional gear or products, while others only require the firearm. The more you handle the firearm and become more familiar with it, the more accurate and proficient you’ll be with it. Picking up the firearm from a bench or table, getting a proper grip on it, and racking the slide or pulling the trigger is a very simple drill that can be done a few times each night while watching TV.
You may want to incorporate real-life scenarios by challenging yourself to handle a handgun one-handed, weak-handed, or from an awkward position – like lying on your back. It may feel awkward at first, but with repetition, you could find yourself confidently handling a handgun one-handed with your weak hand from an awkward position.
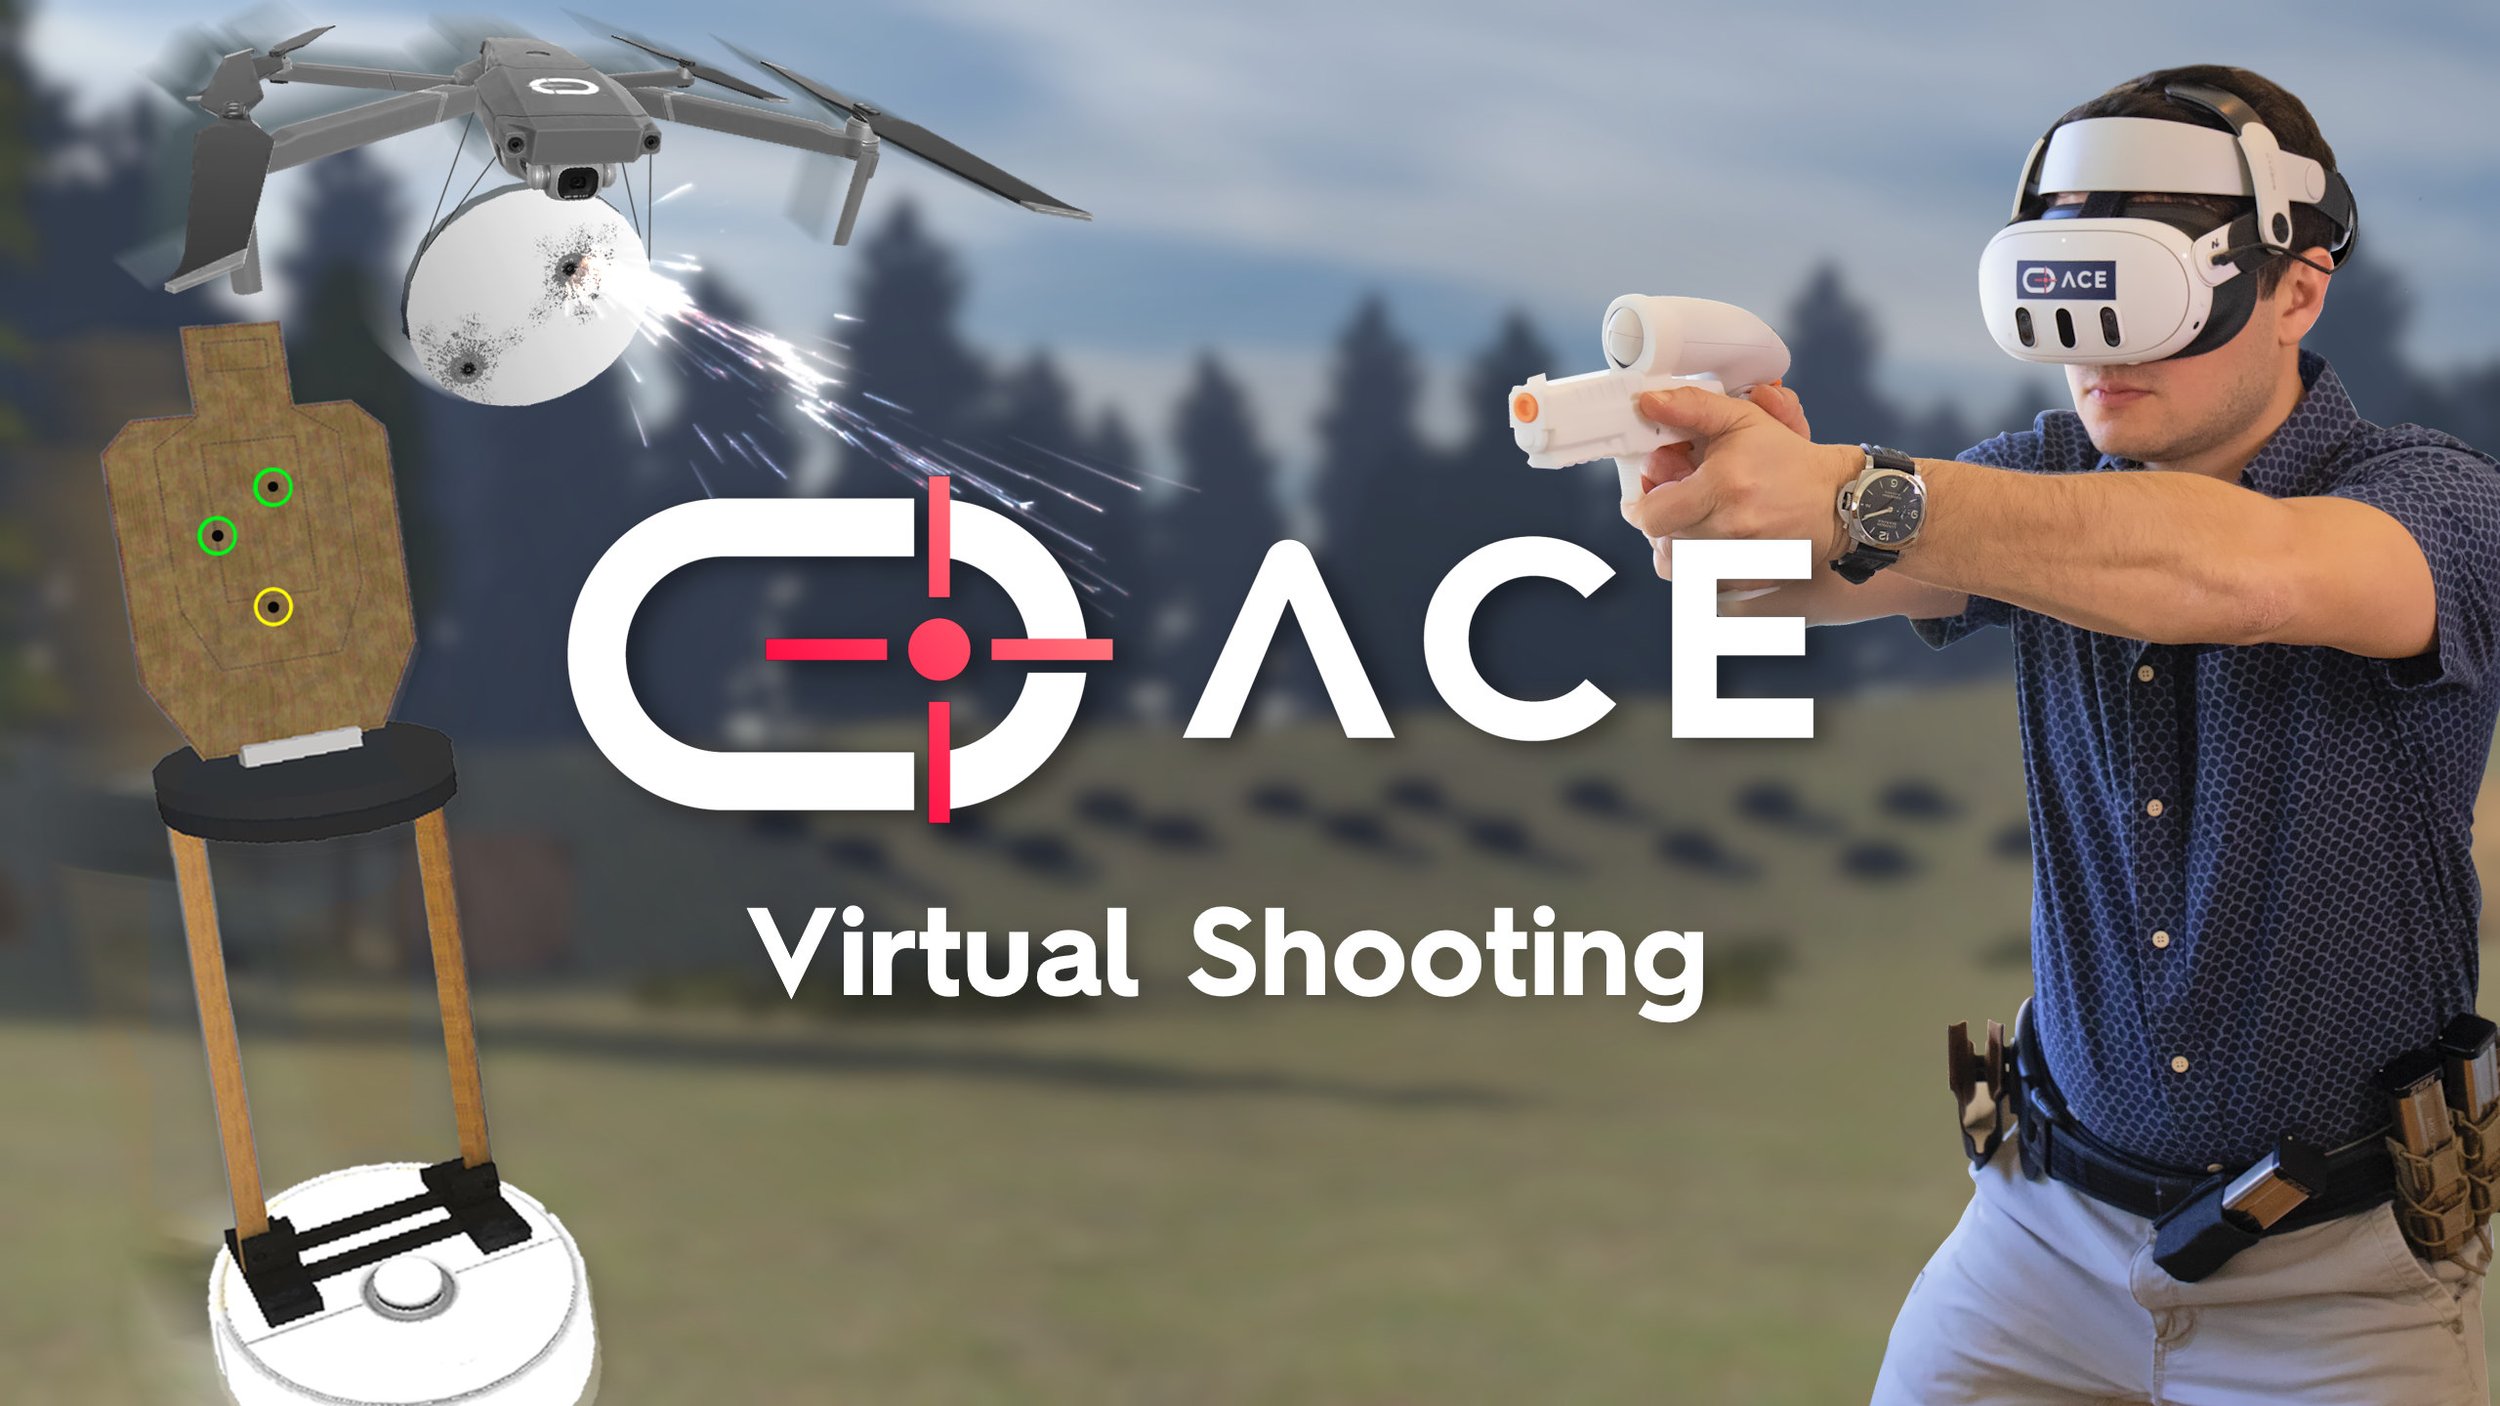
Investing in some dry-fire gear can be very beneficial. For example, a shot timer will provide an audible signal for you to pull your handgun out from its holster and put its sights on the target. You can then review and note the time it took you to complete the sequence. Then you can repeat the sequence and try to beat the previous time. In self-defense situations, it is important to have a fast draw from holster. Most instances occur within 3-5 seconds.
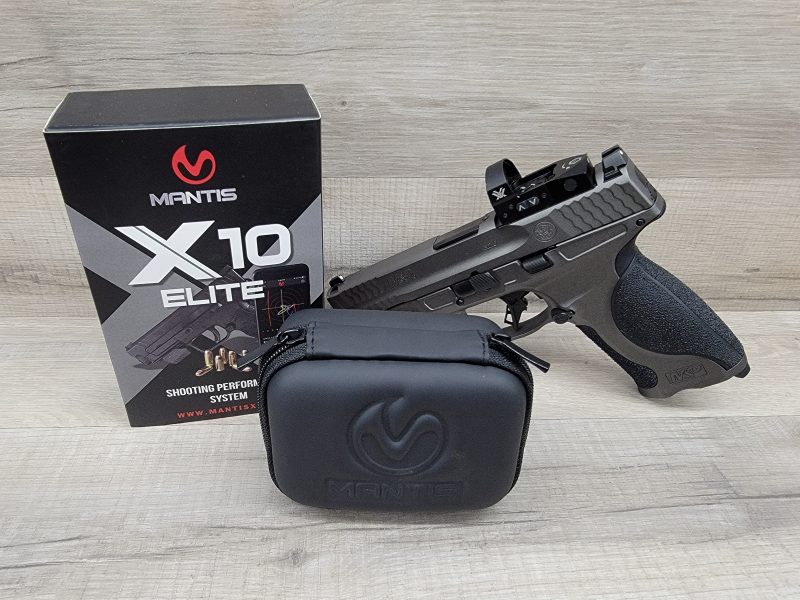
Watch for future articles reviewing dry-fire products – like the Mantis X10 Elite.
The main goals of training, whether live-fire or dry-fire, are to become more comfortable, familiar, and proficient with the firearm you’re practicing with. You can reach those goals quicker by incorporating dry-fire training into your everyday life and making it part of your daily routine.
ABOUT THE AUTHOR:
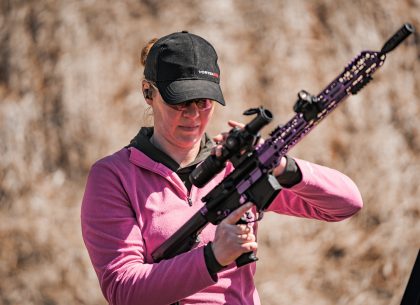
Meaghan Roble is an anti-gunner turned gun activist. She is a USCCA certified instructor and an NRA-certified range safety officer. Meaghan is an A Girl & A Gun Chapter Facilitator and the Wisconsin State Director for DC Project. She owns her own Firearms Training & Education business, Roble Defense, and enjoys sharing her knowledge and experience with others.
![]() You may also enjoy these popular articles:
You may also enjoy these popular articles:


©MTC Holsters, LLC and CrossBreed Holsters Blog, 2022.
Unauthorized use and/or duplication of this material without express and written permission from this site’s author and/or owner is strictly prohibited. Excerpts and links may be used, provided that full and clear credit is given to the CrossBreed Blog with appropriate and specific direction to the original content.
![]()


November 28, 2022
Great information on dry fire! Thanks Meaghan!!