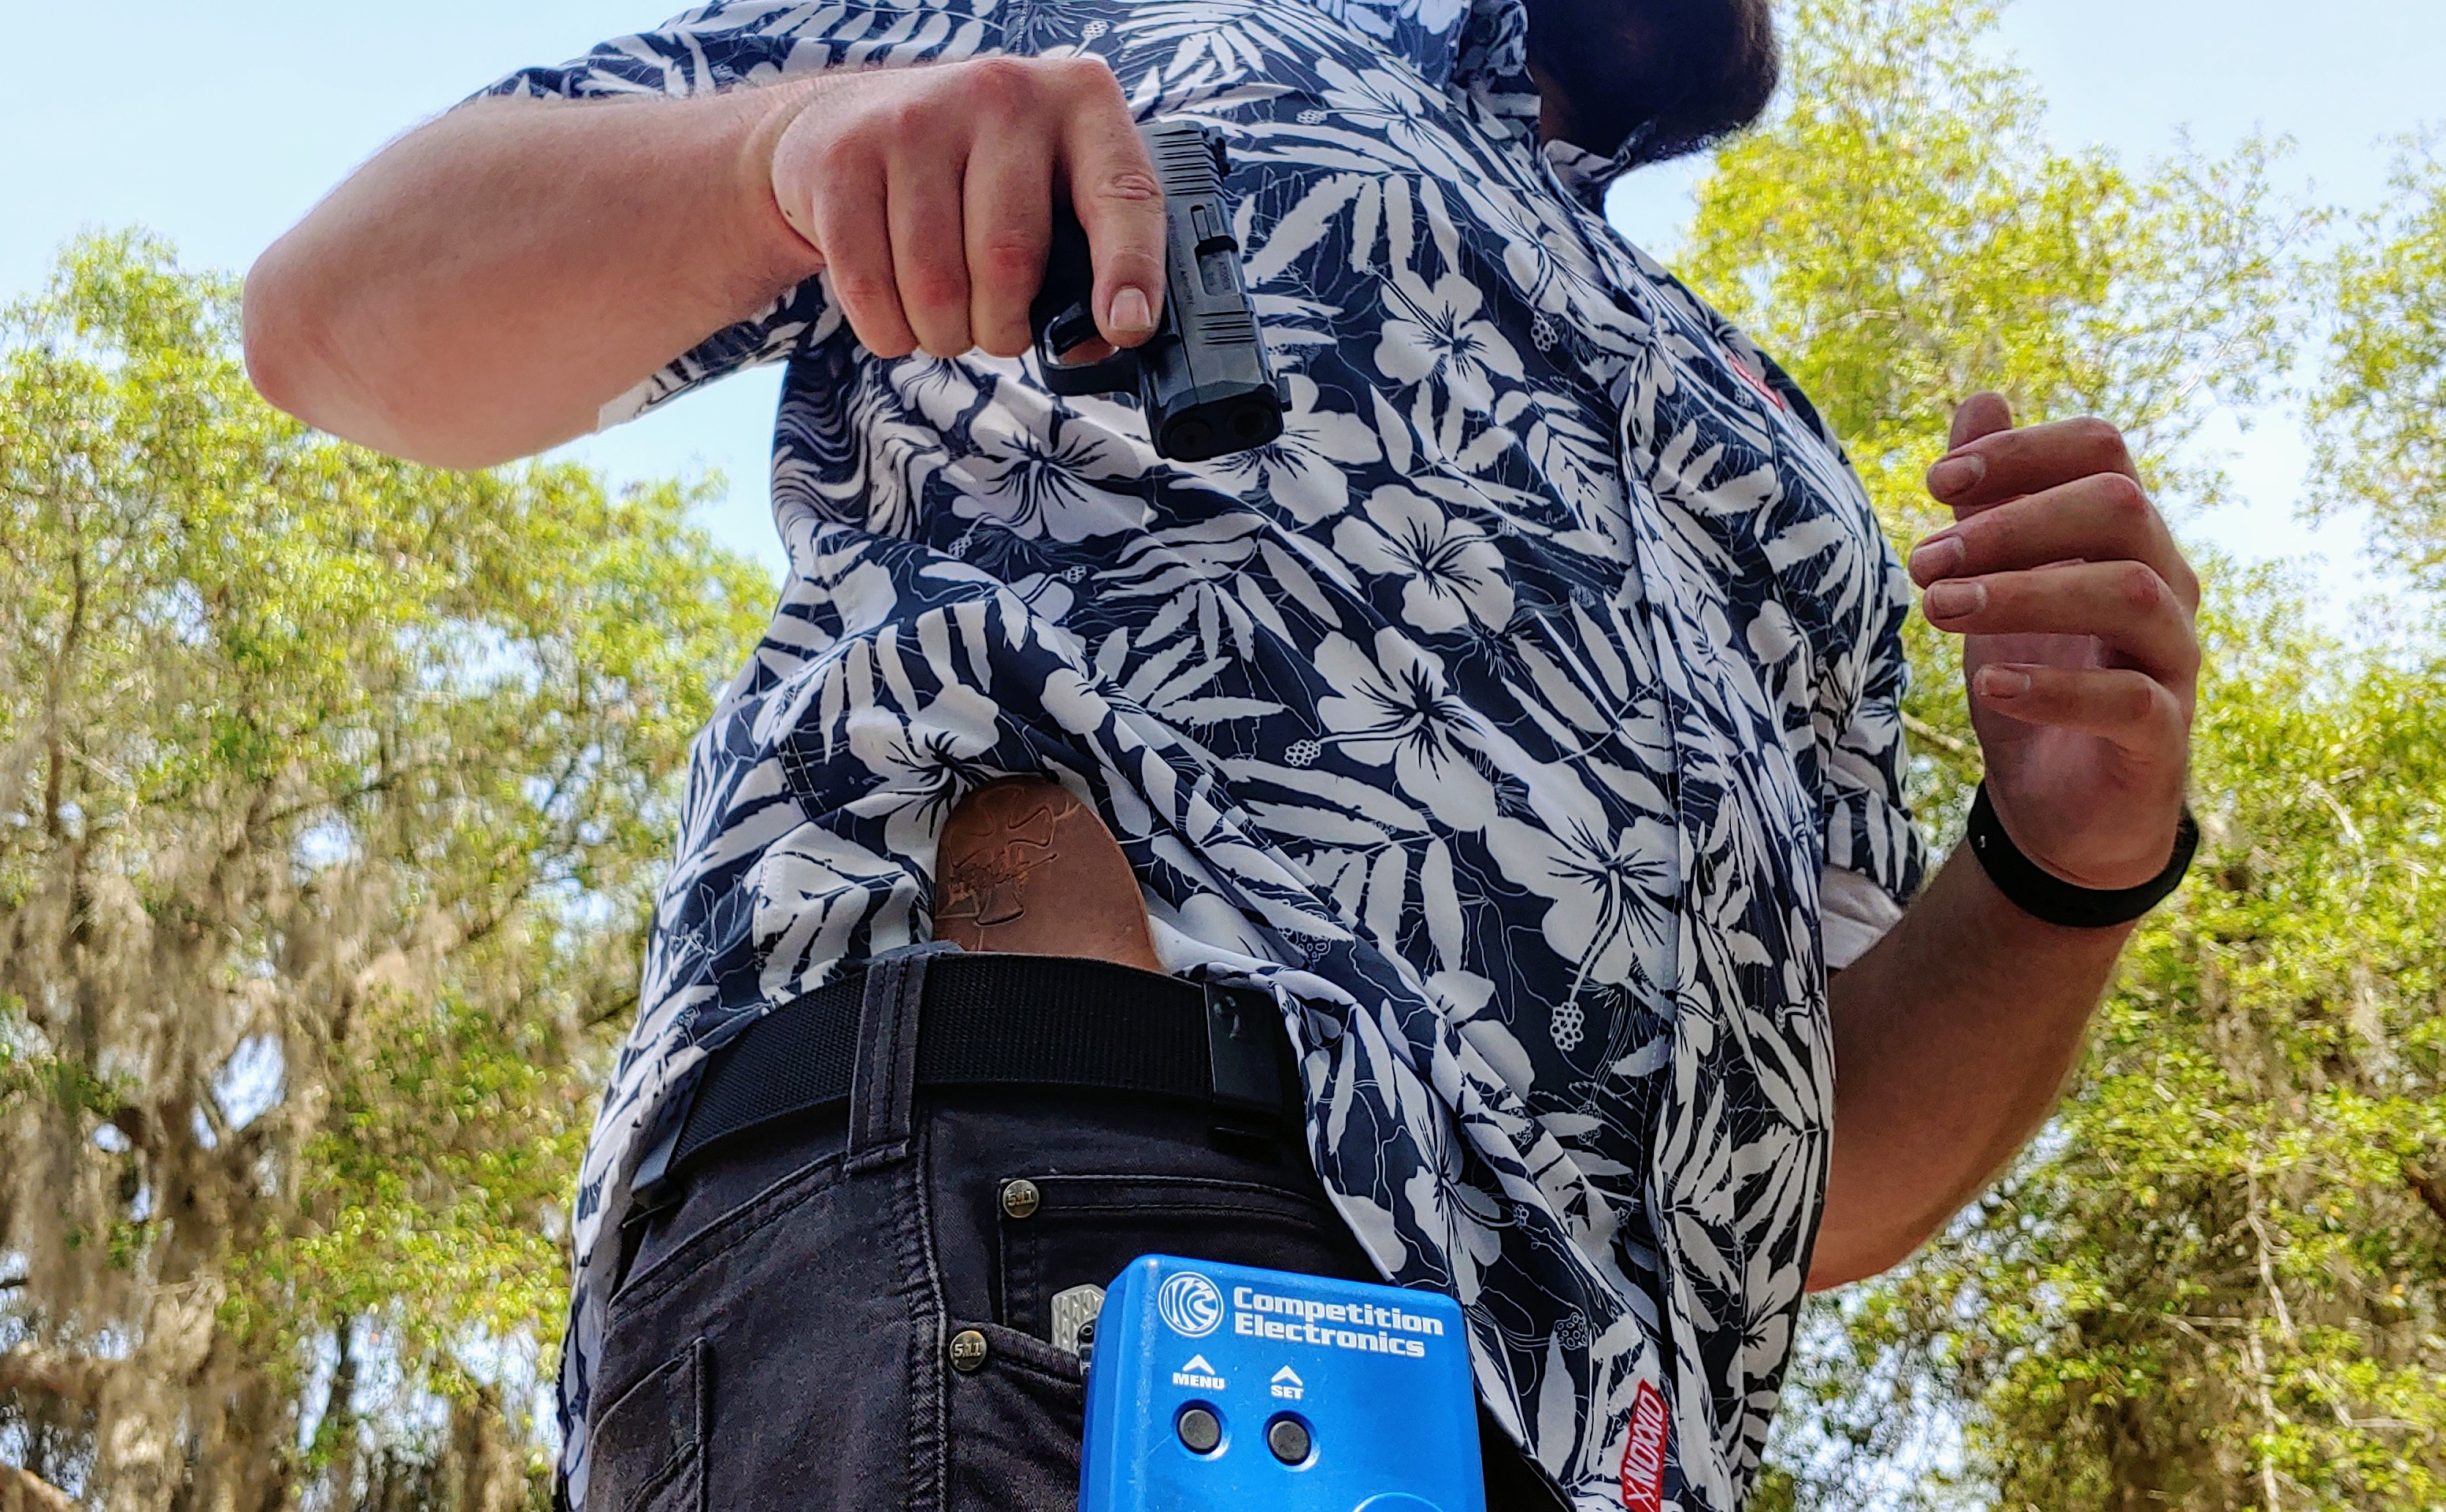
Test your mettle against the MPTC Concealed Carry Qualification.
I love shooting various qualifications. It all started way back when I first saw the Air Marshal qualification posted. Since then, I’ve tried multiple qualifications. I find it brings a new challenge, gives me an objective standard to test myself, and is typically a lot of fun. For concealed carriers, the Massachusetts Municipal Police Training Committee has the Concealed Carry Qualification Course. It’s designed for police carrying a back-up gun or off duty but is still plenty applicable for you and me.
What is Required for the MPTC Concealed Carry Qualification?
Before we dive into this concealed carry qualification, we need to take a look at the equipment you’ll need to carry it out.
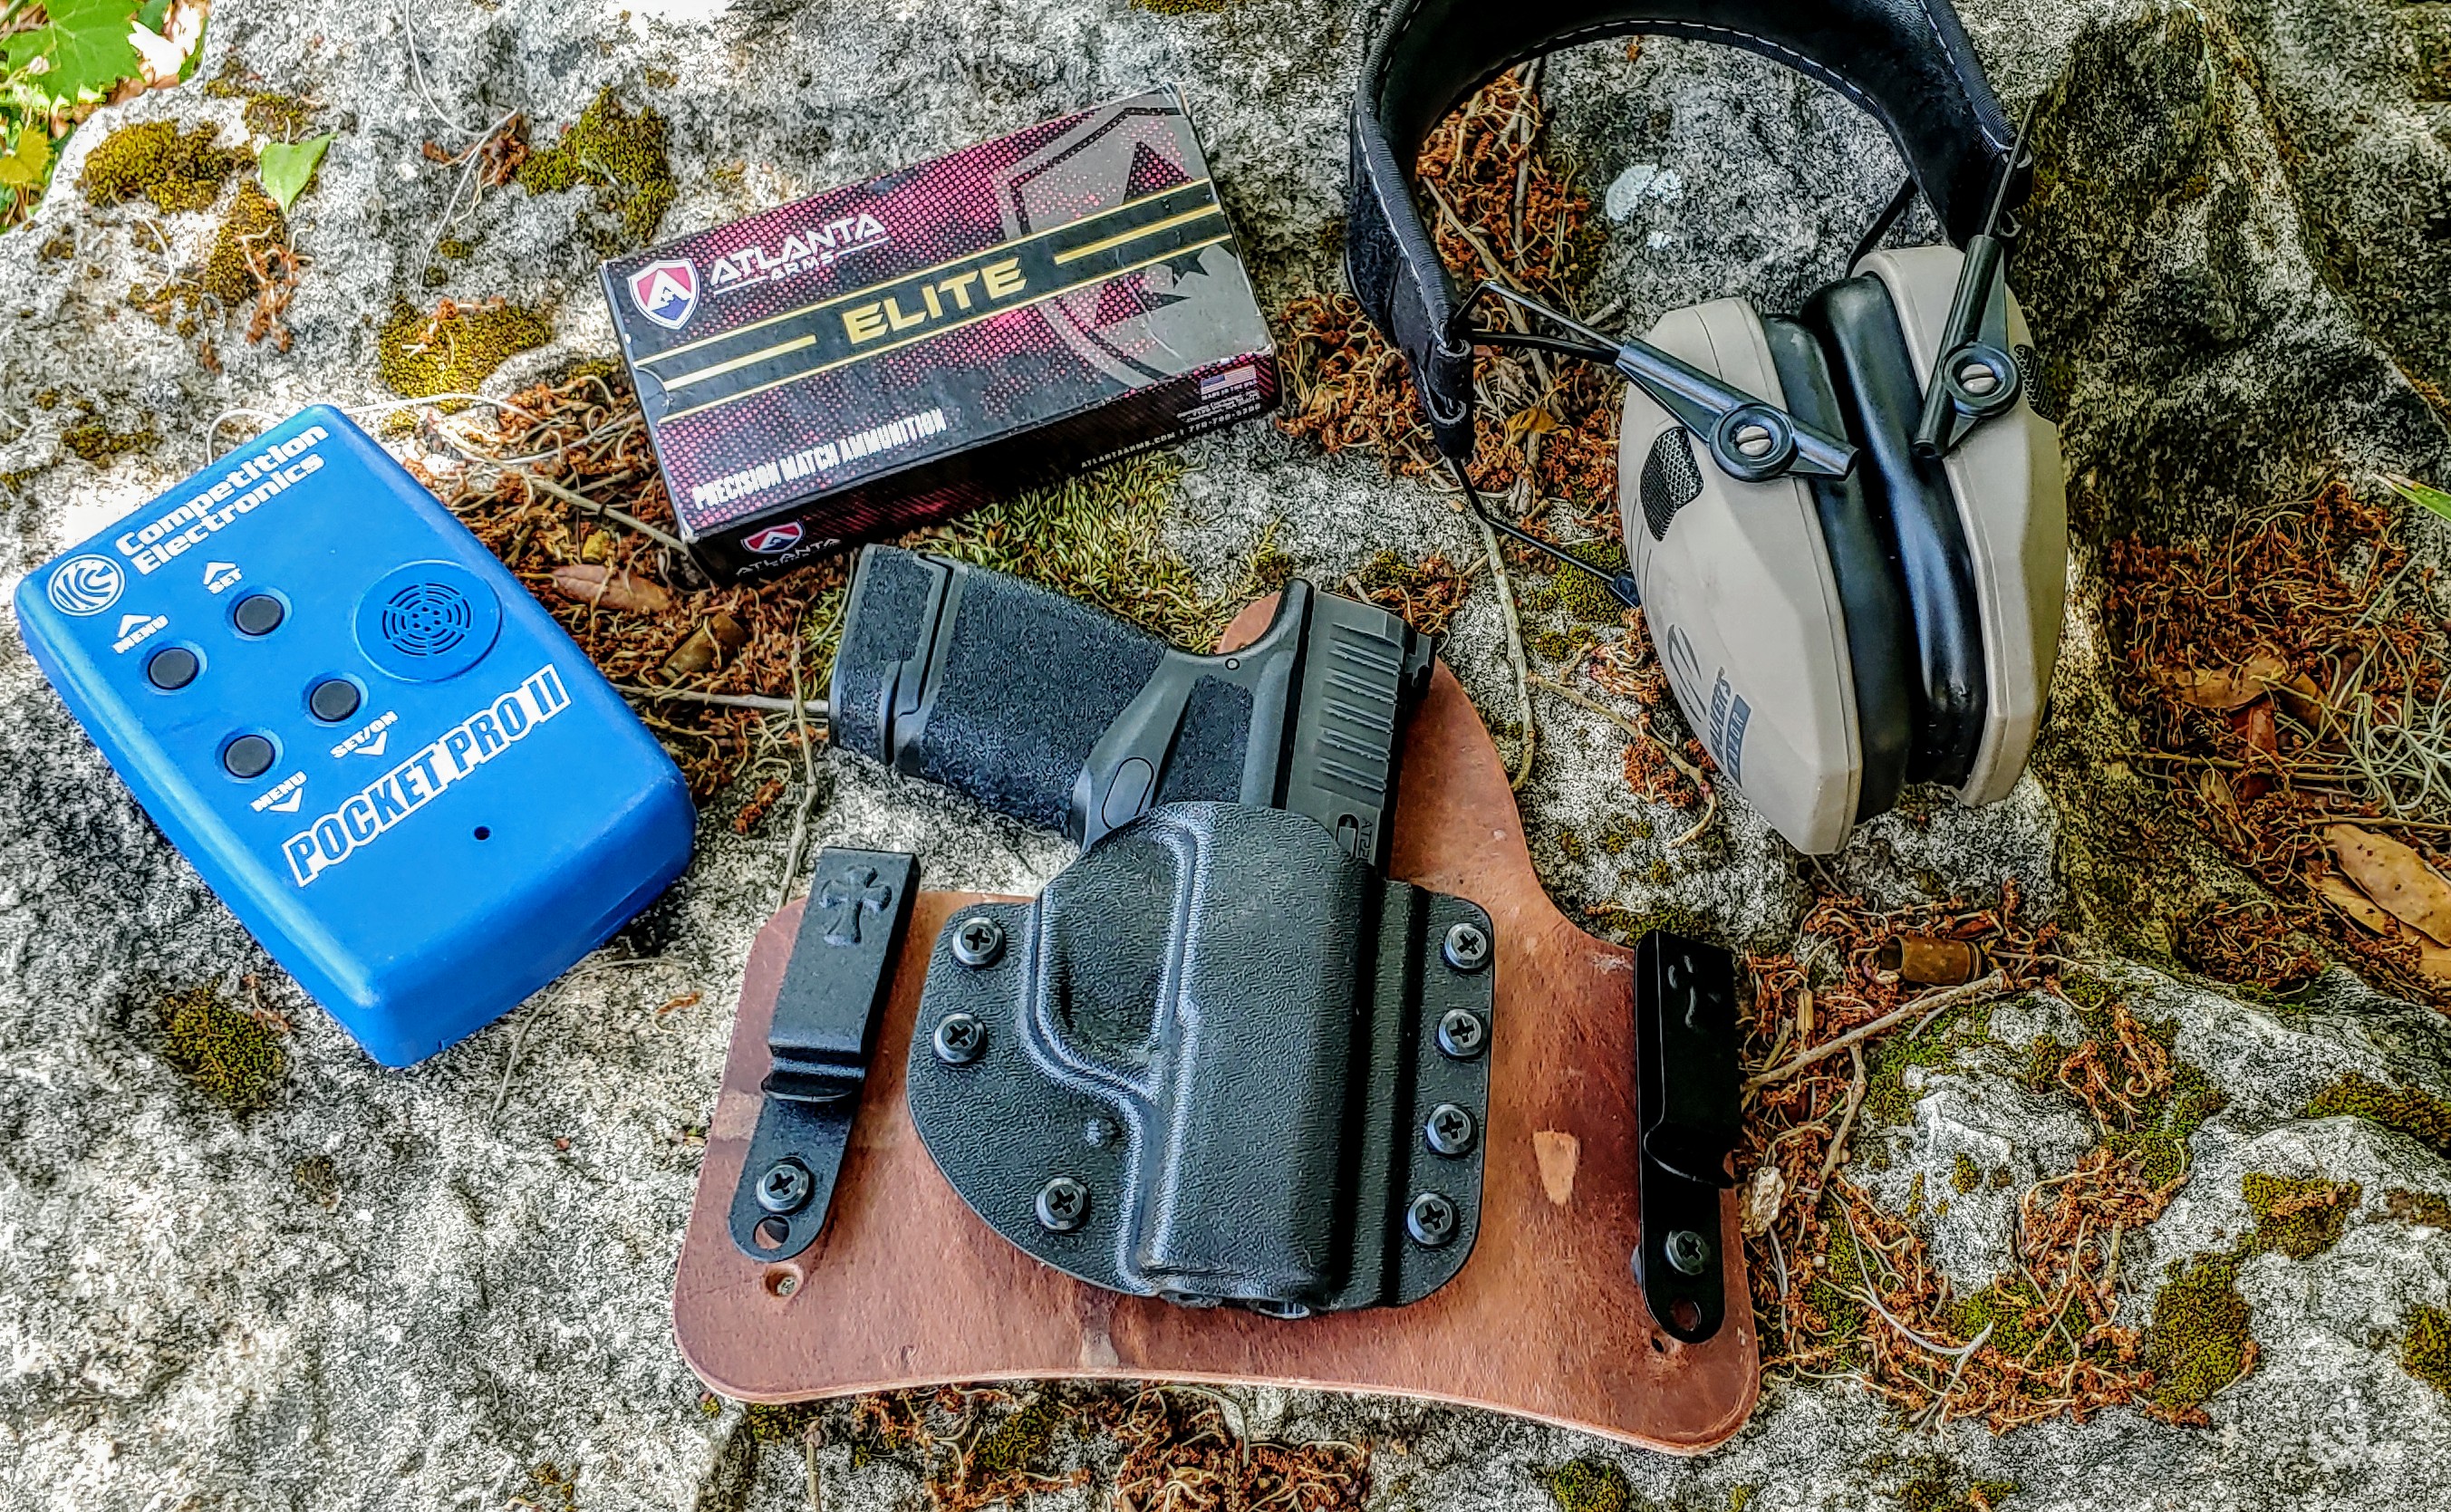
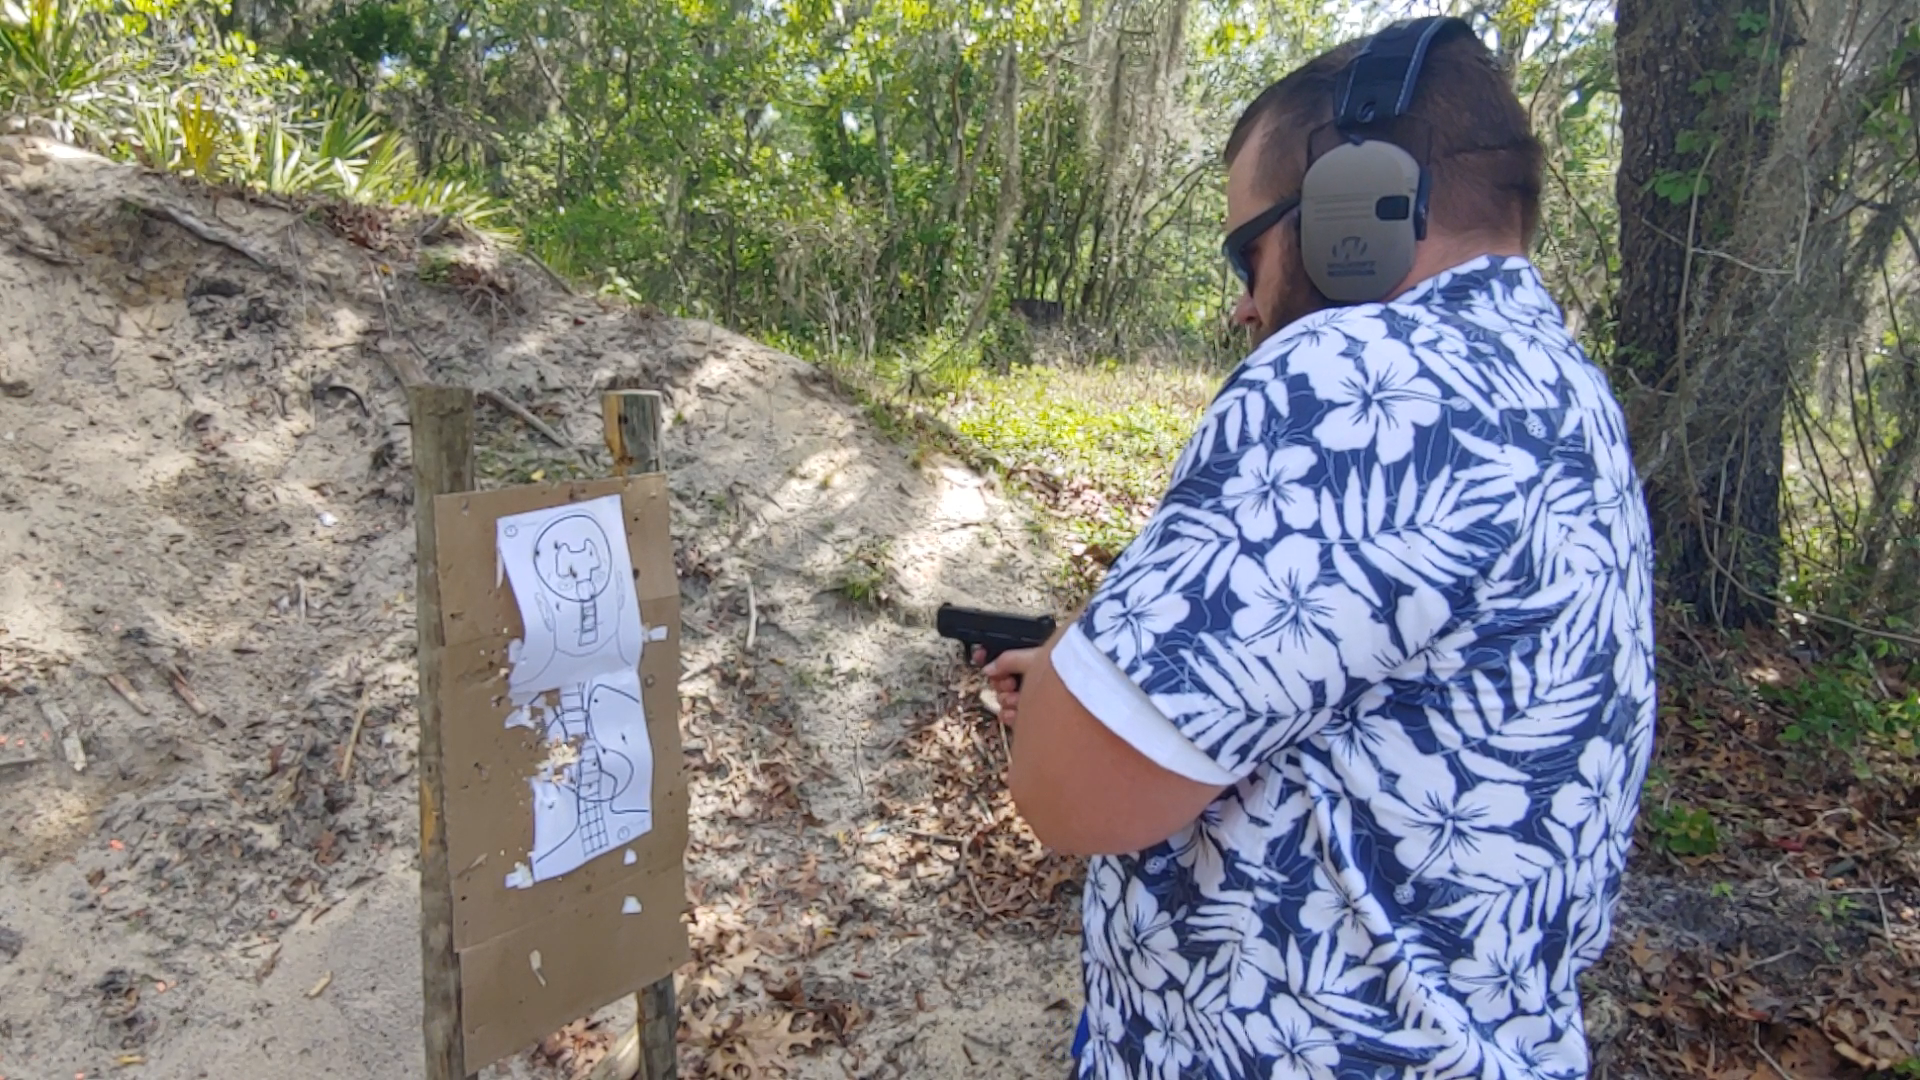
- A handgun (we used the Springfield Hellcat)
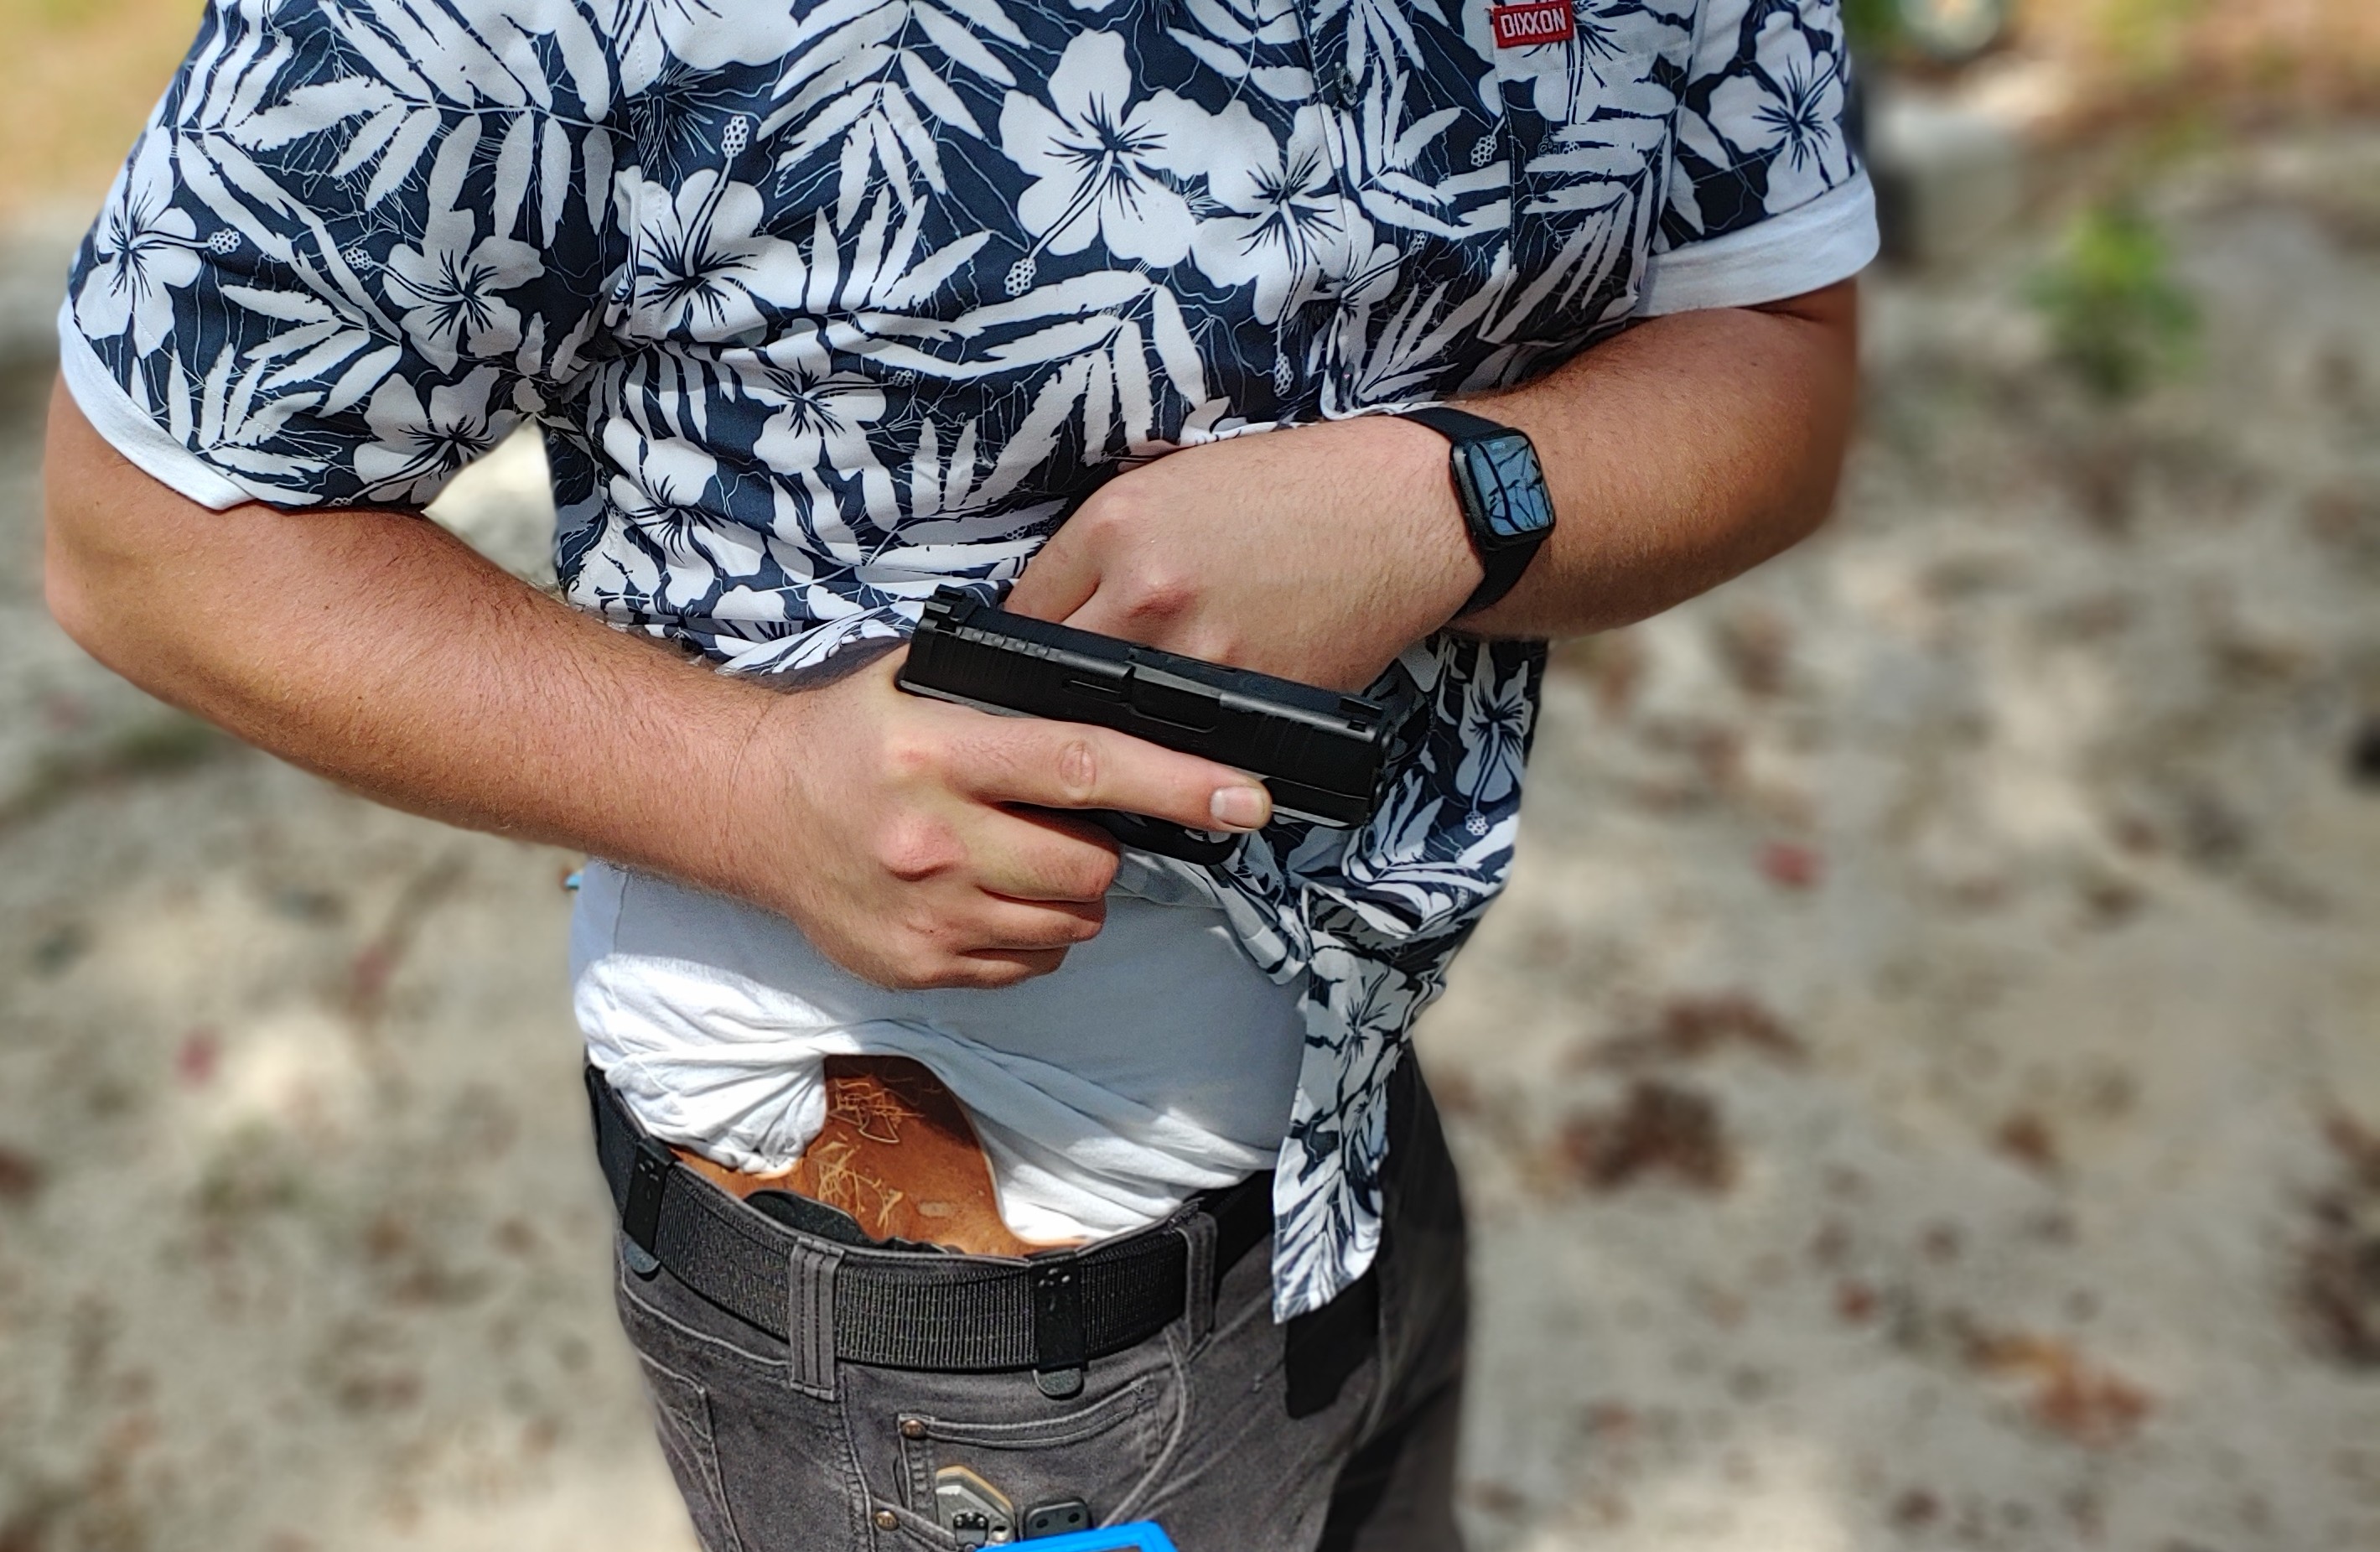
- A quality IWB Holster (we used the Hybrid MT2 Holster)
- 50 Rounds of Ammunition
- 2 Magazines / Speedstrip or Speedloader
- Spare Magazine Carrier (we used the Accomplice Mag Carrier)
- 1 Man-Sized target
- “Cover” of some kind
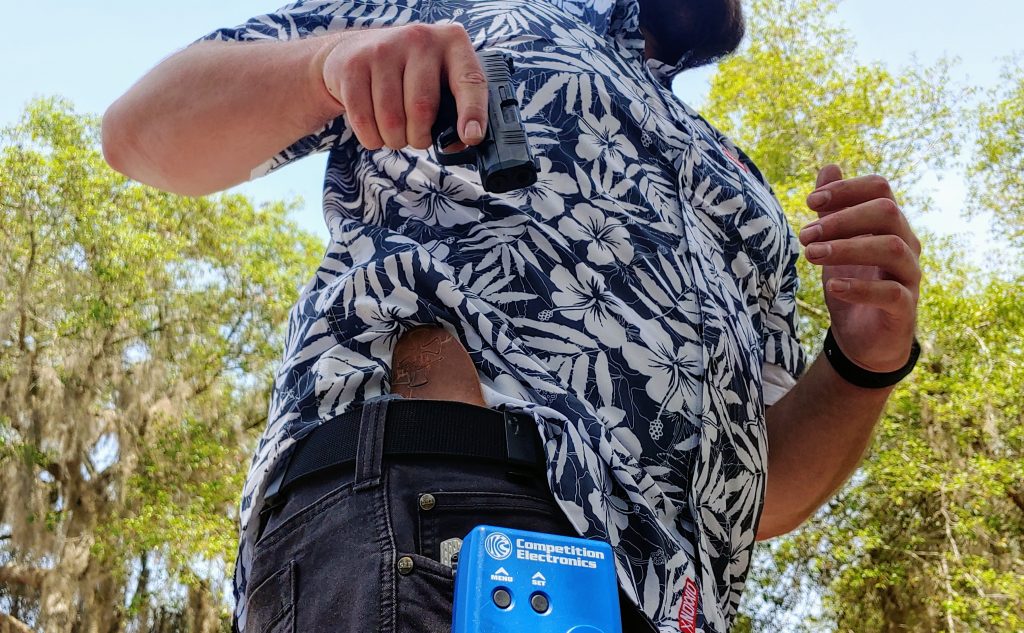
- Shot timer (the timer on your phone will work for par times)
The course of fire is shot at 7, 5, 3, and 1-yard ranges. Every shot fired is done from concealment, which I love. Every portion of the qualification is timed and scored which, in my opinion, is what makes this such an excellent concealed carry qualification.
Here are a few critical notes:
- First, after every engagement, you are required to scan and assess. (Click HERE to learn more about that)
- Next, reholstering is not a timed event! Reholstering quickly can force mistakes and be dangerous, so take your time.
Course of Fire
Here is the course of fire straight from the MPTC manual including some notes at the end you’re not going to want to miss!
Stage 1
Distance: 7 yards
Rounds needed: 5 (x2)
Time: 15 seconds (x2)
Sequence:
This stage is shot in two phases from behind cover (if available). Shooters load five rounds and have a spare magazine or speed loader/speed strip loaded with an additional five rounds.
On the command to fire, the shooter will drop to a knee, draw from their holster, and fire five rounds two hands stronghold from the strong side of their cover. Reload, scan, and recover to a standing position at the “low ready” position.
On the next command to fire, the shooter will drop to a knee, draw from the holster, and fire five rounds, two hands strong hold from the support side of cover. Scan, reload, and reholster.
Shooters using revolvers are given three additional seconds to reload.
Stage 2
Distance: 5 yards
Rounds needed: 5 (x2)
Time: 10 seconds
Sequence:
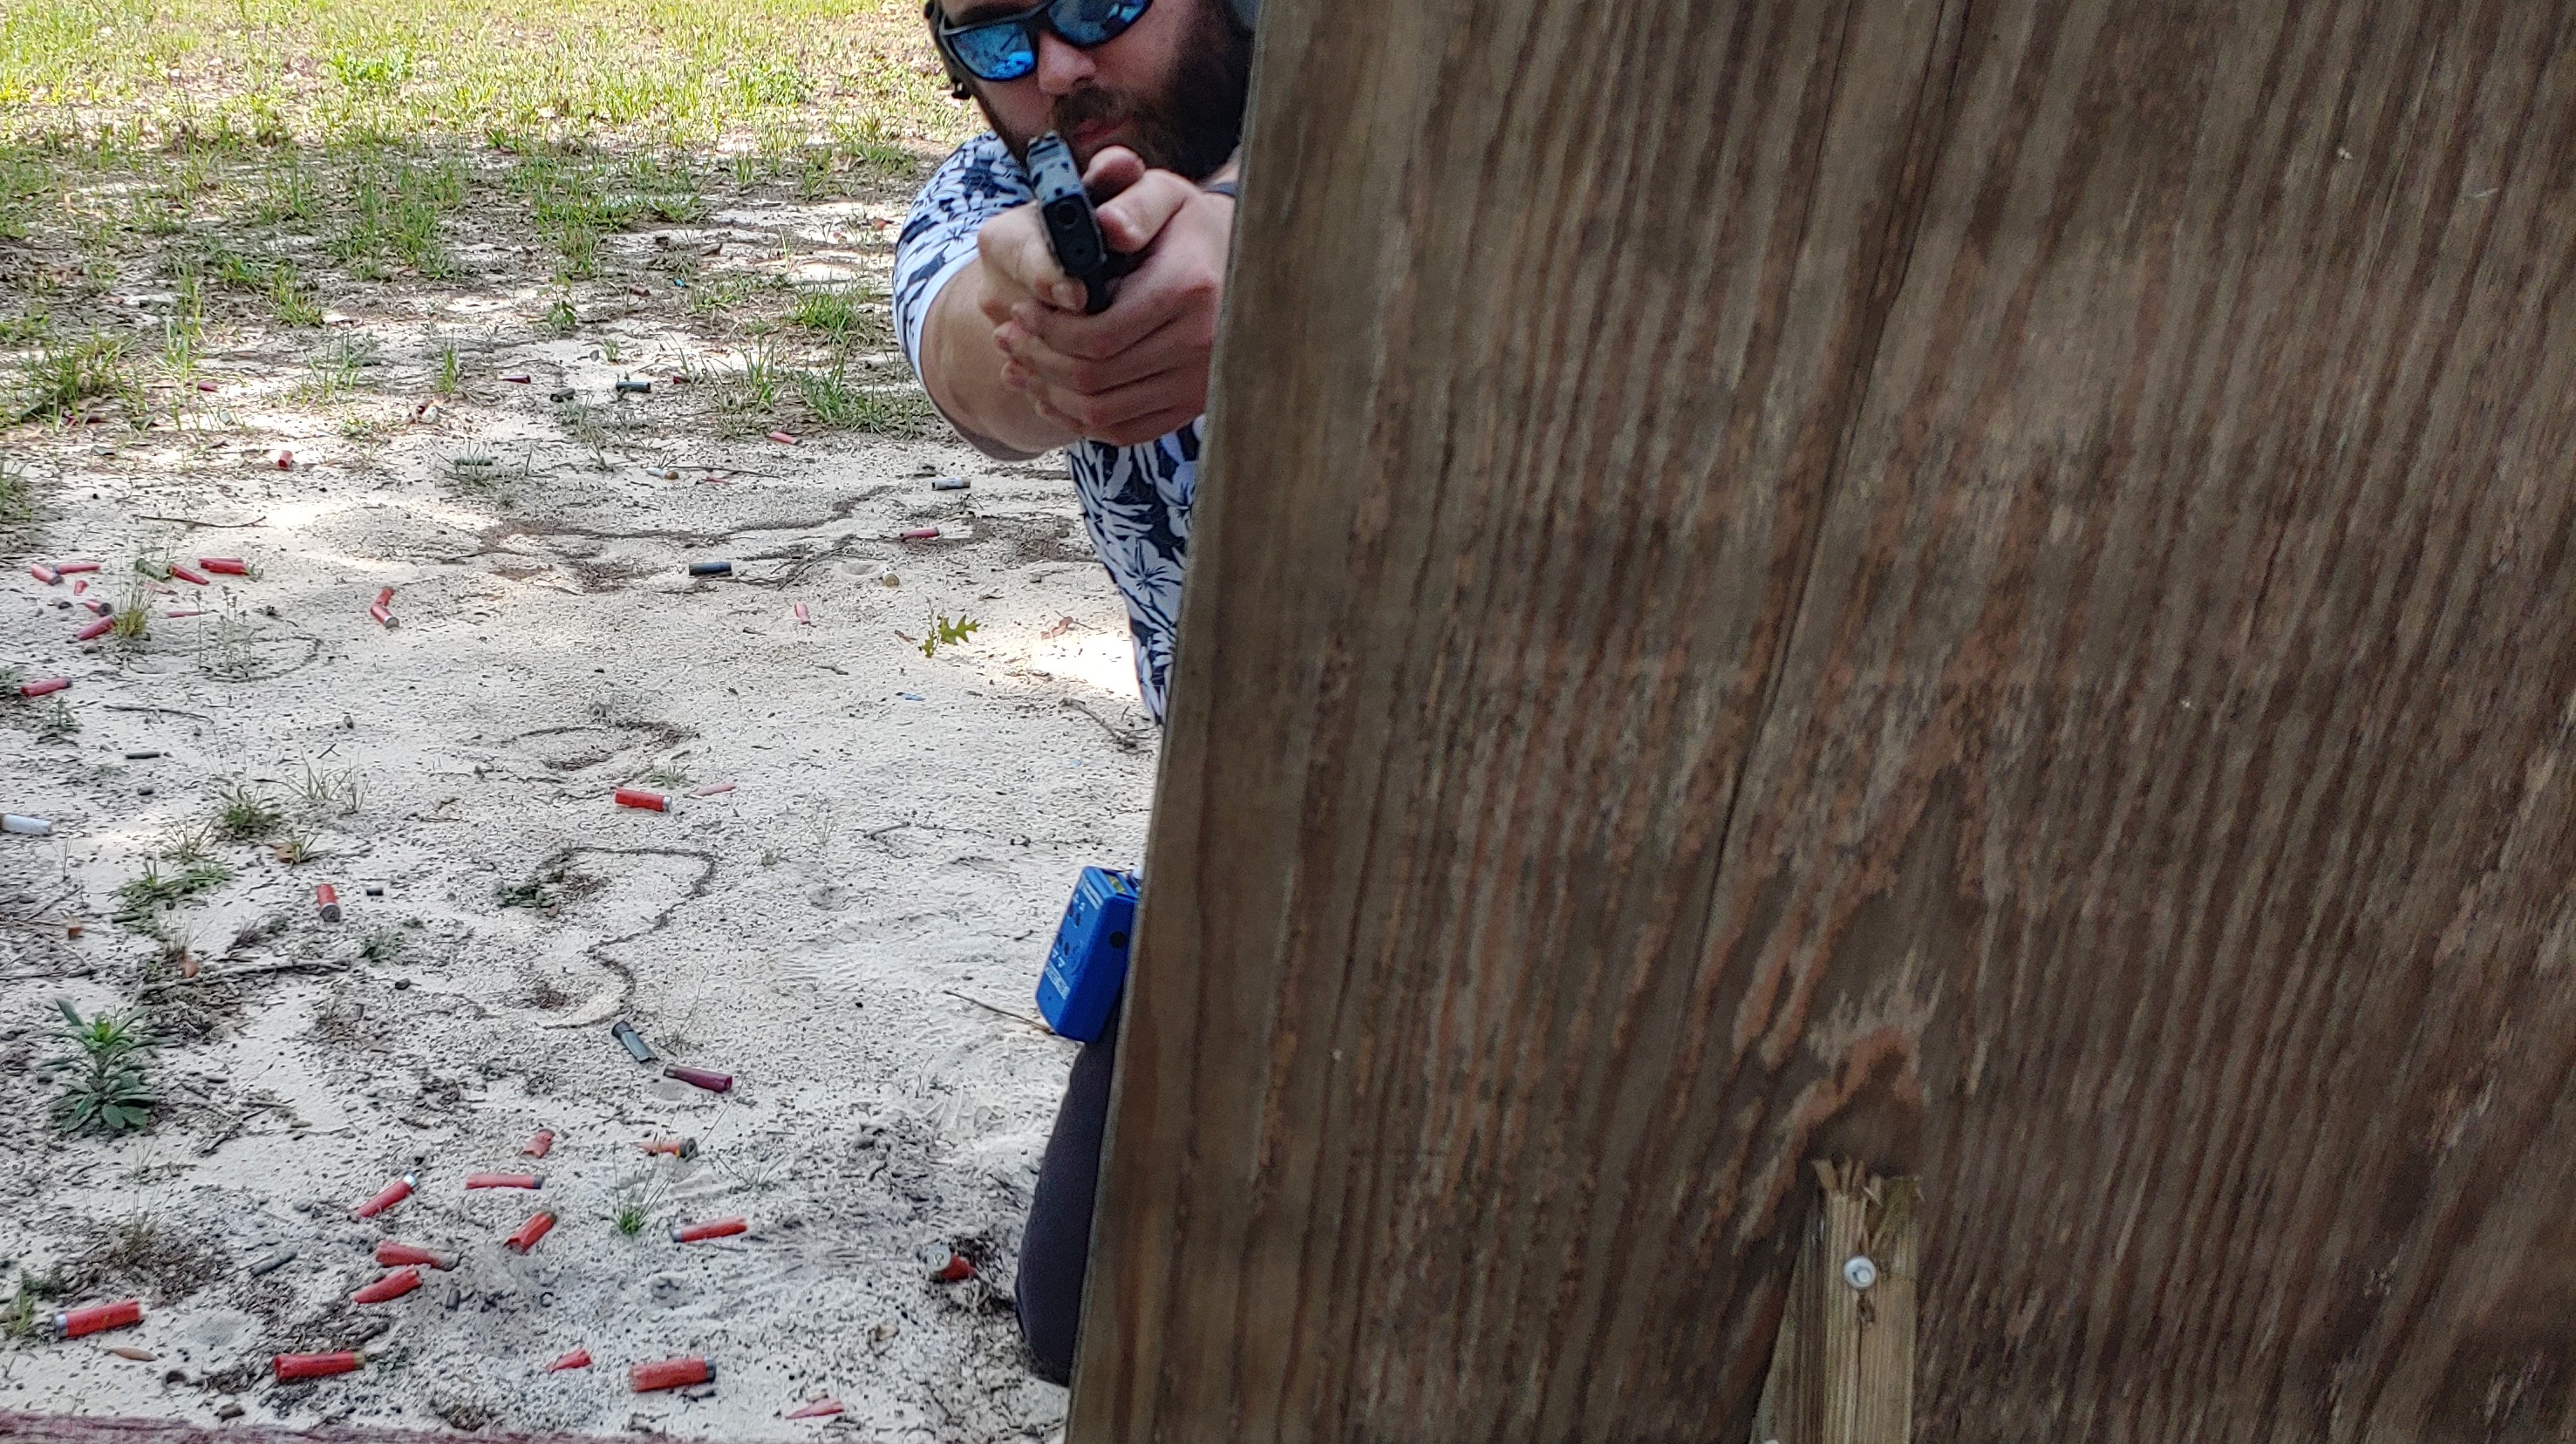
This stage is shot in two phases. The shooter will start from the 3-yard line. On the command of threat, the shooter will move back to cover on the 5-yard line, drop to a knee and draw and fire five rounds, strong hand only, reload, scan, and recover to the holster.
This phase is repeated once more and shooters using revolvers are given three additional seconds to reload.
Stage 3
Distance: 5 yards
Rounds needed: 5 (x2)
Time: 5 seconds for each phase
Sequence:
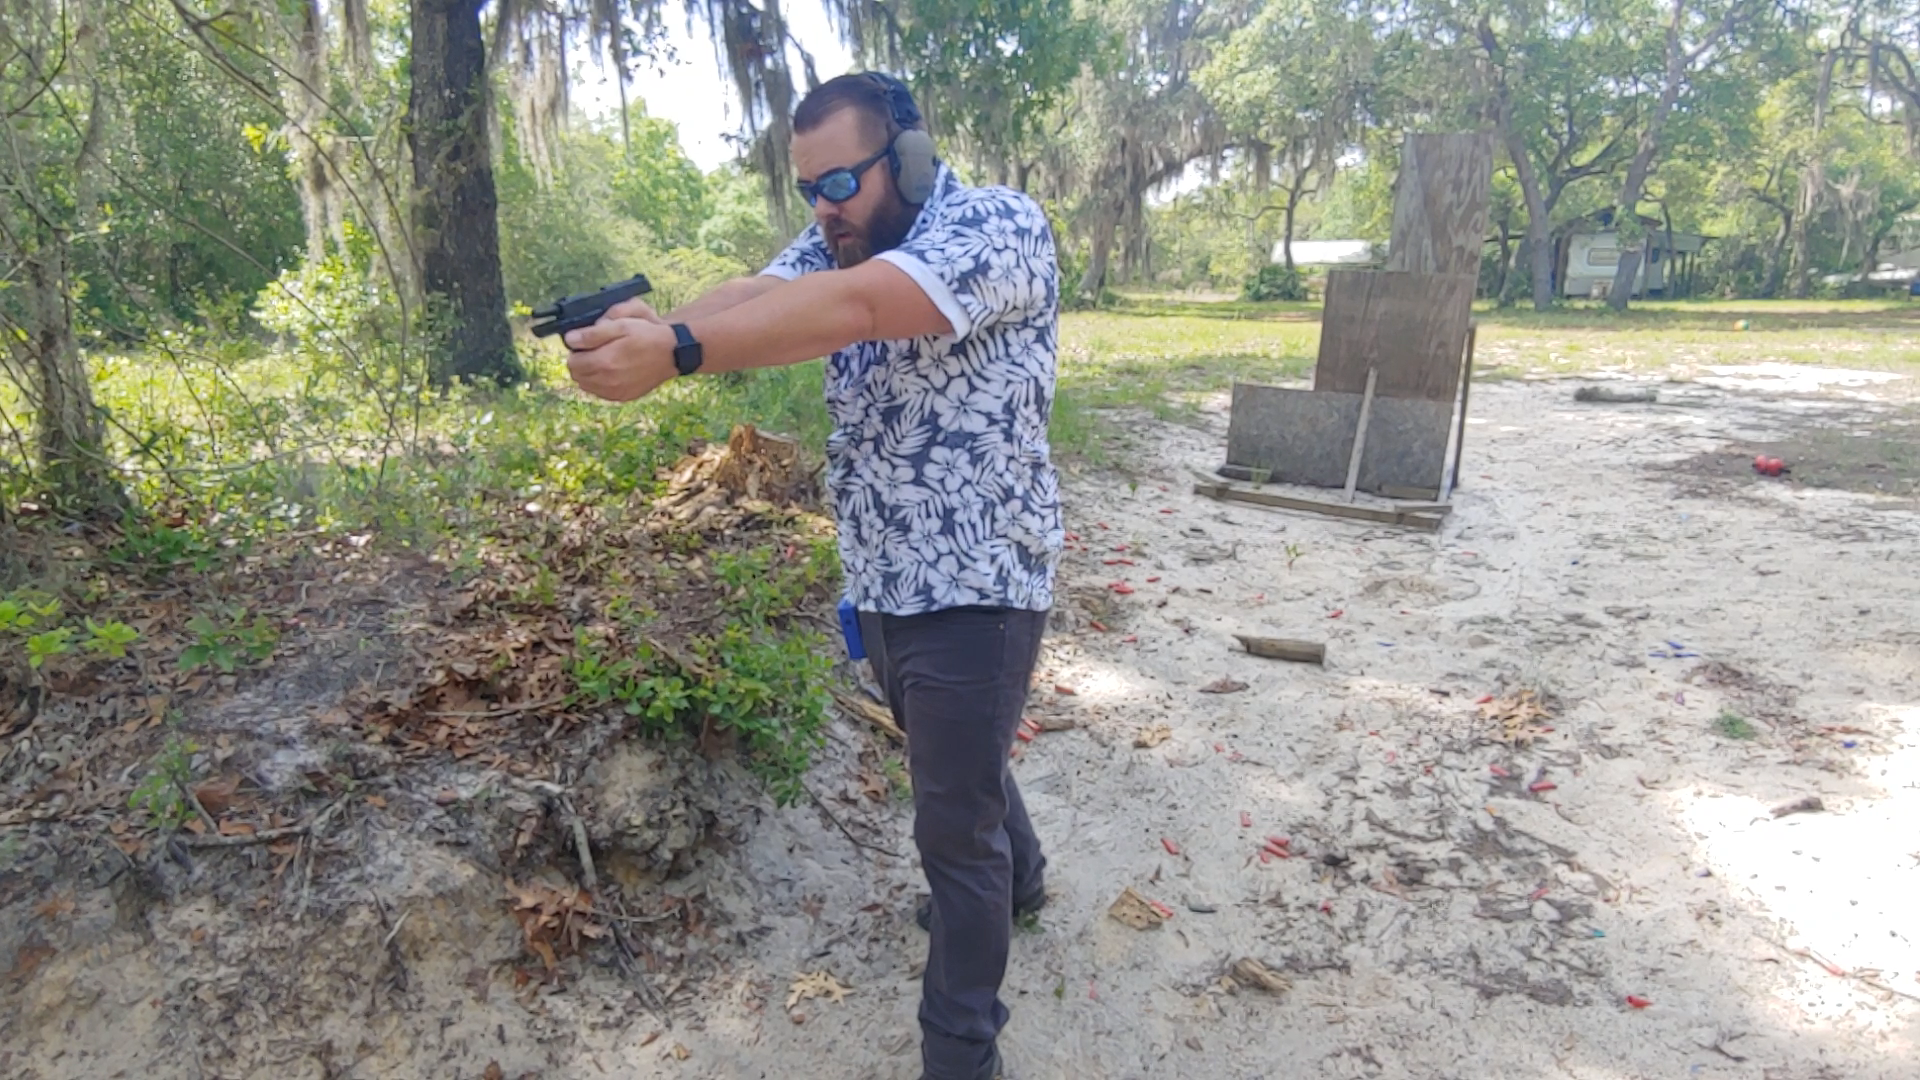
This stage begins with the shooter facing away from the threat (target). On the command to fire, the shooter pivots to address the threat, draws from concealment, and fires five rounds in 5 seconds. Reload immediately and scan for additional threats.
On the second command to fire, the shooter fires five additional rounds at their target.
Stage 4
Distance: 3 yards
Rounds needed: 5 rounds (x2)
Time: 10 seconds for each phase
Sequence:
On the command of deadly threat, the shooter will draw and fire five rounds with the dominant hand only. Reload, scan, and recover to the low ready / gun ready position.
On command, the shooter will transition their weapon to their support hand. On the next deadly threat command, fire five rounds (support hand only). Scan and recover back to the holster.
Stage 5
Distance: 1 Yard
Rounds needed: 5 rounds
Time: 4 seconds for each phase
Sequence:
To simulate a close in immediate threat, shooters start with a weapon holstered. On the command to fire, they will perform a defensive tactic/distraction technique, step back while drawing their weapon and fire two rounds strong hand only. Scan, cover the threat, and reload if necessary.
On the next command to fire, the shooter will fire a failure drill (3 rounds) using the same procedure. Reloading will not be included in the timing for the shooter’s safety.
Stage 6
Distance: Contact
Rounds Needed: 5
UNTIMED
Sequence:
On the command to fire, the shooter will take one step, either left, right or to the rear, draw and fire three rounds, scan and recover back to the holster.
Repeat a second time with two rounds fired.
Notes
Distraction/Defensive Tactic For a concealed carry qualification, it’s not needed. If you want to use it, practice yelling a command, or extending your hand as a barrier as you retreat.
Failure Drill Two shots to center mass and one shot to the head.
Command to Fire Normally, this type of qualification would be shot with an instructor present. If shooting it alone, use a timer as your command to fire. Phone apps work okay with random timers and par times, but shot detection can be tricky.
Scoring Each shot that hits counts as one point and shooters need 40 out of 50 to pass. If you can’t make the time, you repeat that portion until you do.
If you’d like to print this drill to try the next time you hit the range, a copy can be found HERE.
My Thoughts
As far as qualifications go, this isn’t necessarily a hard one to master. It’s a great concealed carry qualification for instructors because most people qualifying are new to concealed carry. Admittedly, it’s not as challenging as something like the FAST Drill. It still forces shooters to work those concealed carry skills.
It’s like a workout in a lot of ways. If you find it too easy, push yourself harder. Cut the par times, increase the distance, make the targets smaller, or whatever else you can do to make it more challenging.
I landed every shot and came in well below the established times. However, I did find my own weaknesses. Drawing, taking a knee, and shooting from the support side of cover was a clumsy effort. Also, I have always been super weak support hand wise and this proved that once more. It also reinforced my love of the Springfield Hellcat’s sights.
You can also use it to diagnose skills you may be weak on. Do you suck with support hand only like I do? Well, you’ll find out. Set up your phone as a camera and use it to see how much of yourself you expose to cover. Think of this as a tool, and use it to get better.
What do you think? Let us know in the comments below!
ABOUT THE AUTHOR:
Travis Pike is a former Marine Machine gunner who served with 2nd Bn 2nd Marines for 5 years. He deployed in 2009 to Afghanistan and again in 2011 with the 22nd MEU(SOC) during a record-setting 11 months at sea. Travis has trained with the Romanian Army, the Spanish Marines, the Emirate Marines, and the Afghan National Army.
He serves as an NRA certified pistol instructor and pursues a variety of firearms based hobbies.
![]()
You may also enjoy these popular articles:
©MTC Holsters, LLC and CrossBreed Holsters Blog, 2020.
Unauthorized use and/or duplication of this material without express and written permission from this site’s author and/or owner is strictly prohibited. Excerpts and links may be used, provided that full and clear credit is given to Travis Pike and the CrossBreed Blog with appropriate and specific direction to the original content.


I would like to do this string of fire with my Girl and a Gun group. Is there any way to print this article?
At the bottom of the article, we added a link to print out a PDF copy of this drill, great idea Tasha – let us know how you gals do!!