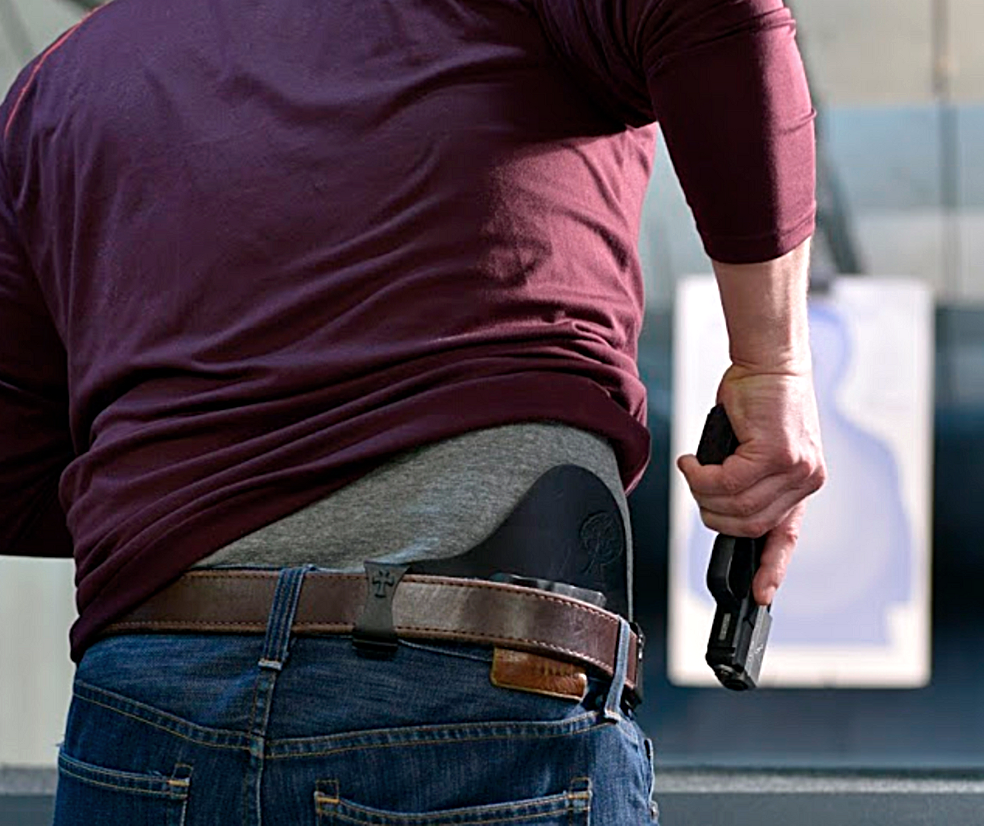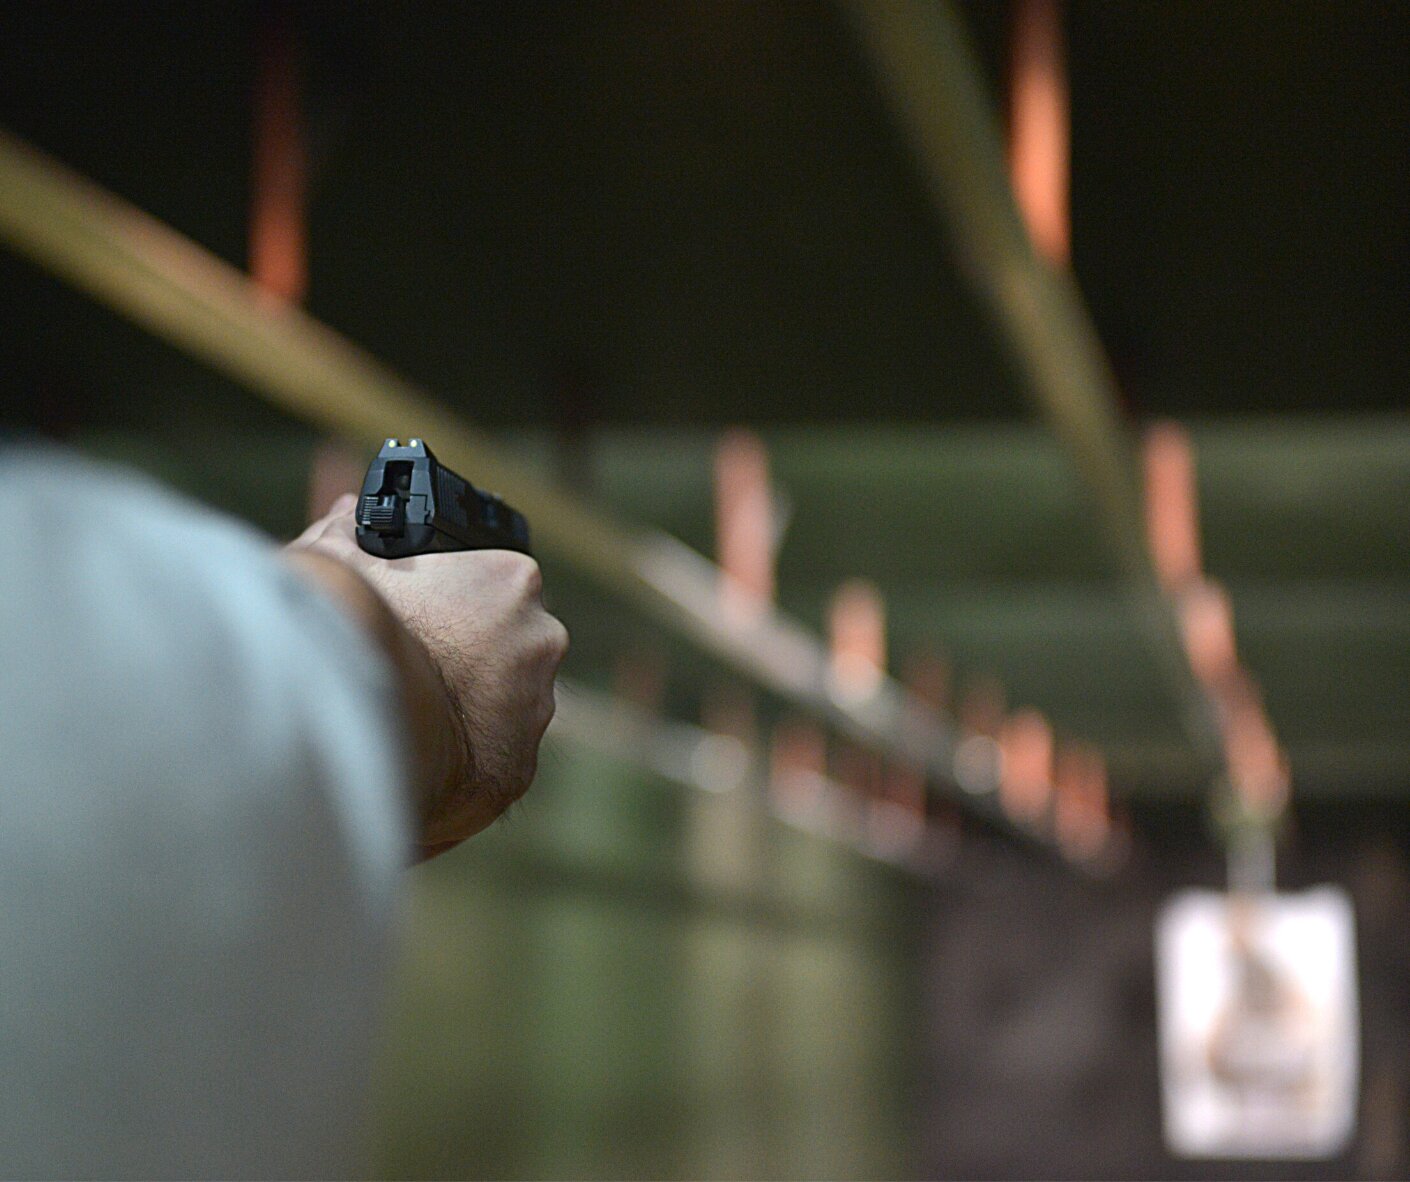
Hard to narrow down and even harder to master, check out my top five drills!
![]()
![]()
Firearms drills are an absolute blast. They sharpen skills, give you a challenge, and can change the way you think about shooting and self-defense. They can also be an eye-opener, and a means to evaluate your skills really.
So without further distraction, here are my five favorite firearms training drills!
El Presidente
The El Presidente is a classic firearms training drill created by Jeff Cooper. The exercise utilizes three targets, a handgun, a holster, a shot timer, and an extra magazine and magazine pouch. The three targets should be man-shaped with a clear vital area marked. The targets should be placed 1 meter from each other. Load two magazines with six rounds each.
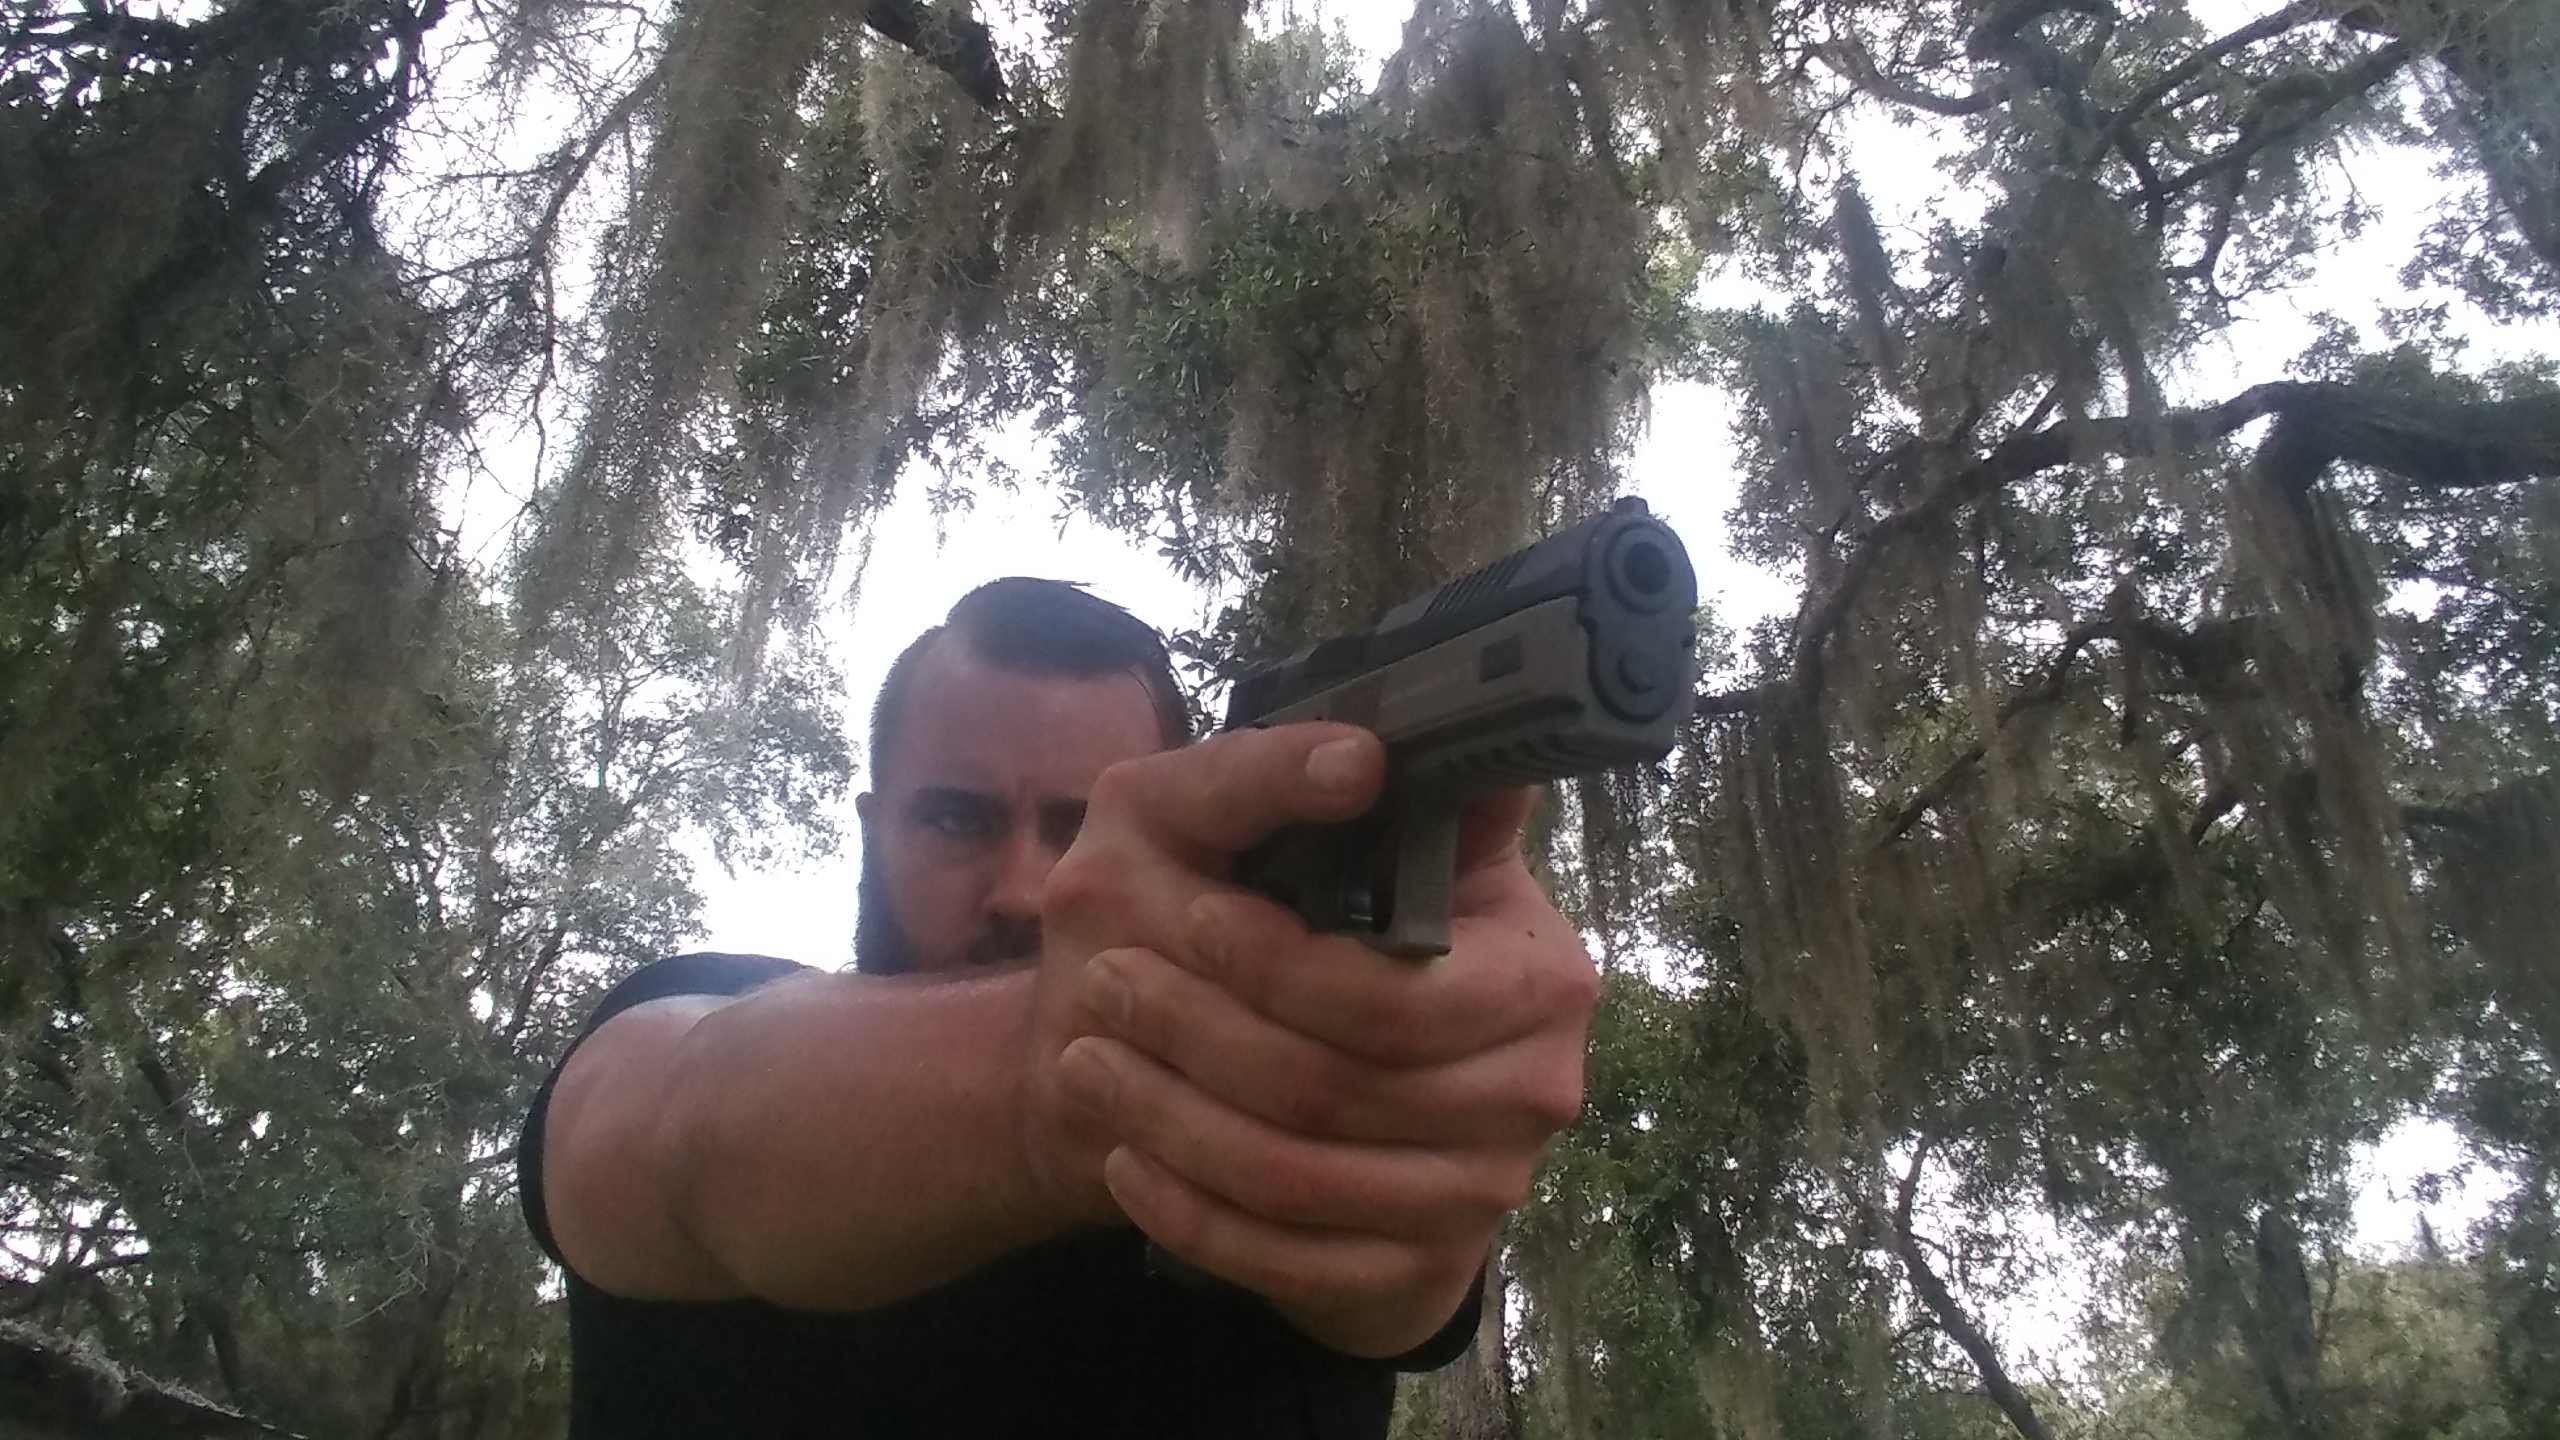
How to Shoot It: You start ten yards from the targets facing away from them. Your hands are held above your head as if you are surrendering. At the go buzzer you turn, draw from concealment and engage each target twice. After shooting six rounds, your gun should be dry. Reload, and engage each target with rounds again. A perfect score is 12 shots across 3 targets all in the vital region in ten seconds is a passing score.
What it Trains: The El Presidente drill trains a wide variety of different skills. It teaches essentially every fundamental handgun combat skill out there. It trains your ability to draw from concealment, to move and shoot, as well as proper shot placement, and reloading. The drill sounds easy, but it’s very easy to toss a shot out of the vital zone, and even harder to hit that ten-second time. It’s the best kind of stressful in my opinion.
The 1-5X Drill
The 1-5X drill was created by Kyle Lamb of Viking Tactics and is designed around the tactical carbine. That being said the exercise can be done with a handgun. You’ll need a rifle, a single magazine loaded with 15 rounds, and 3 targets placed 1 meter apart.
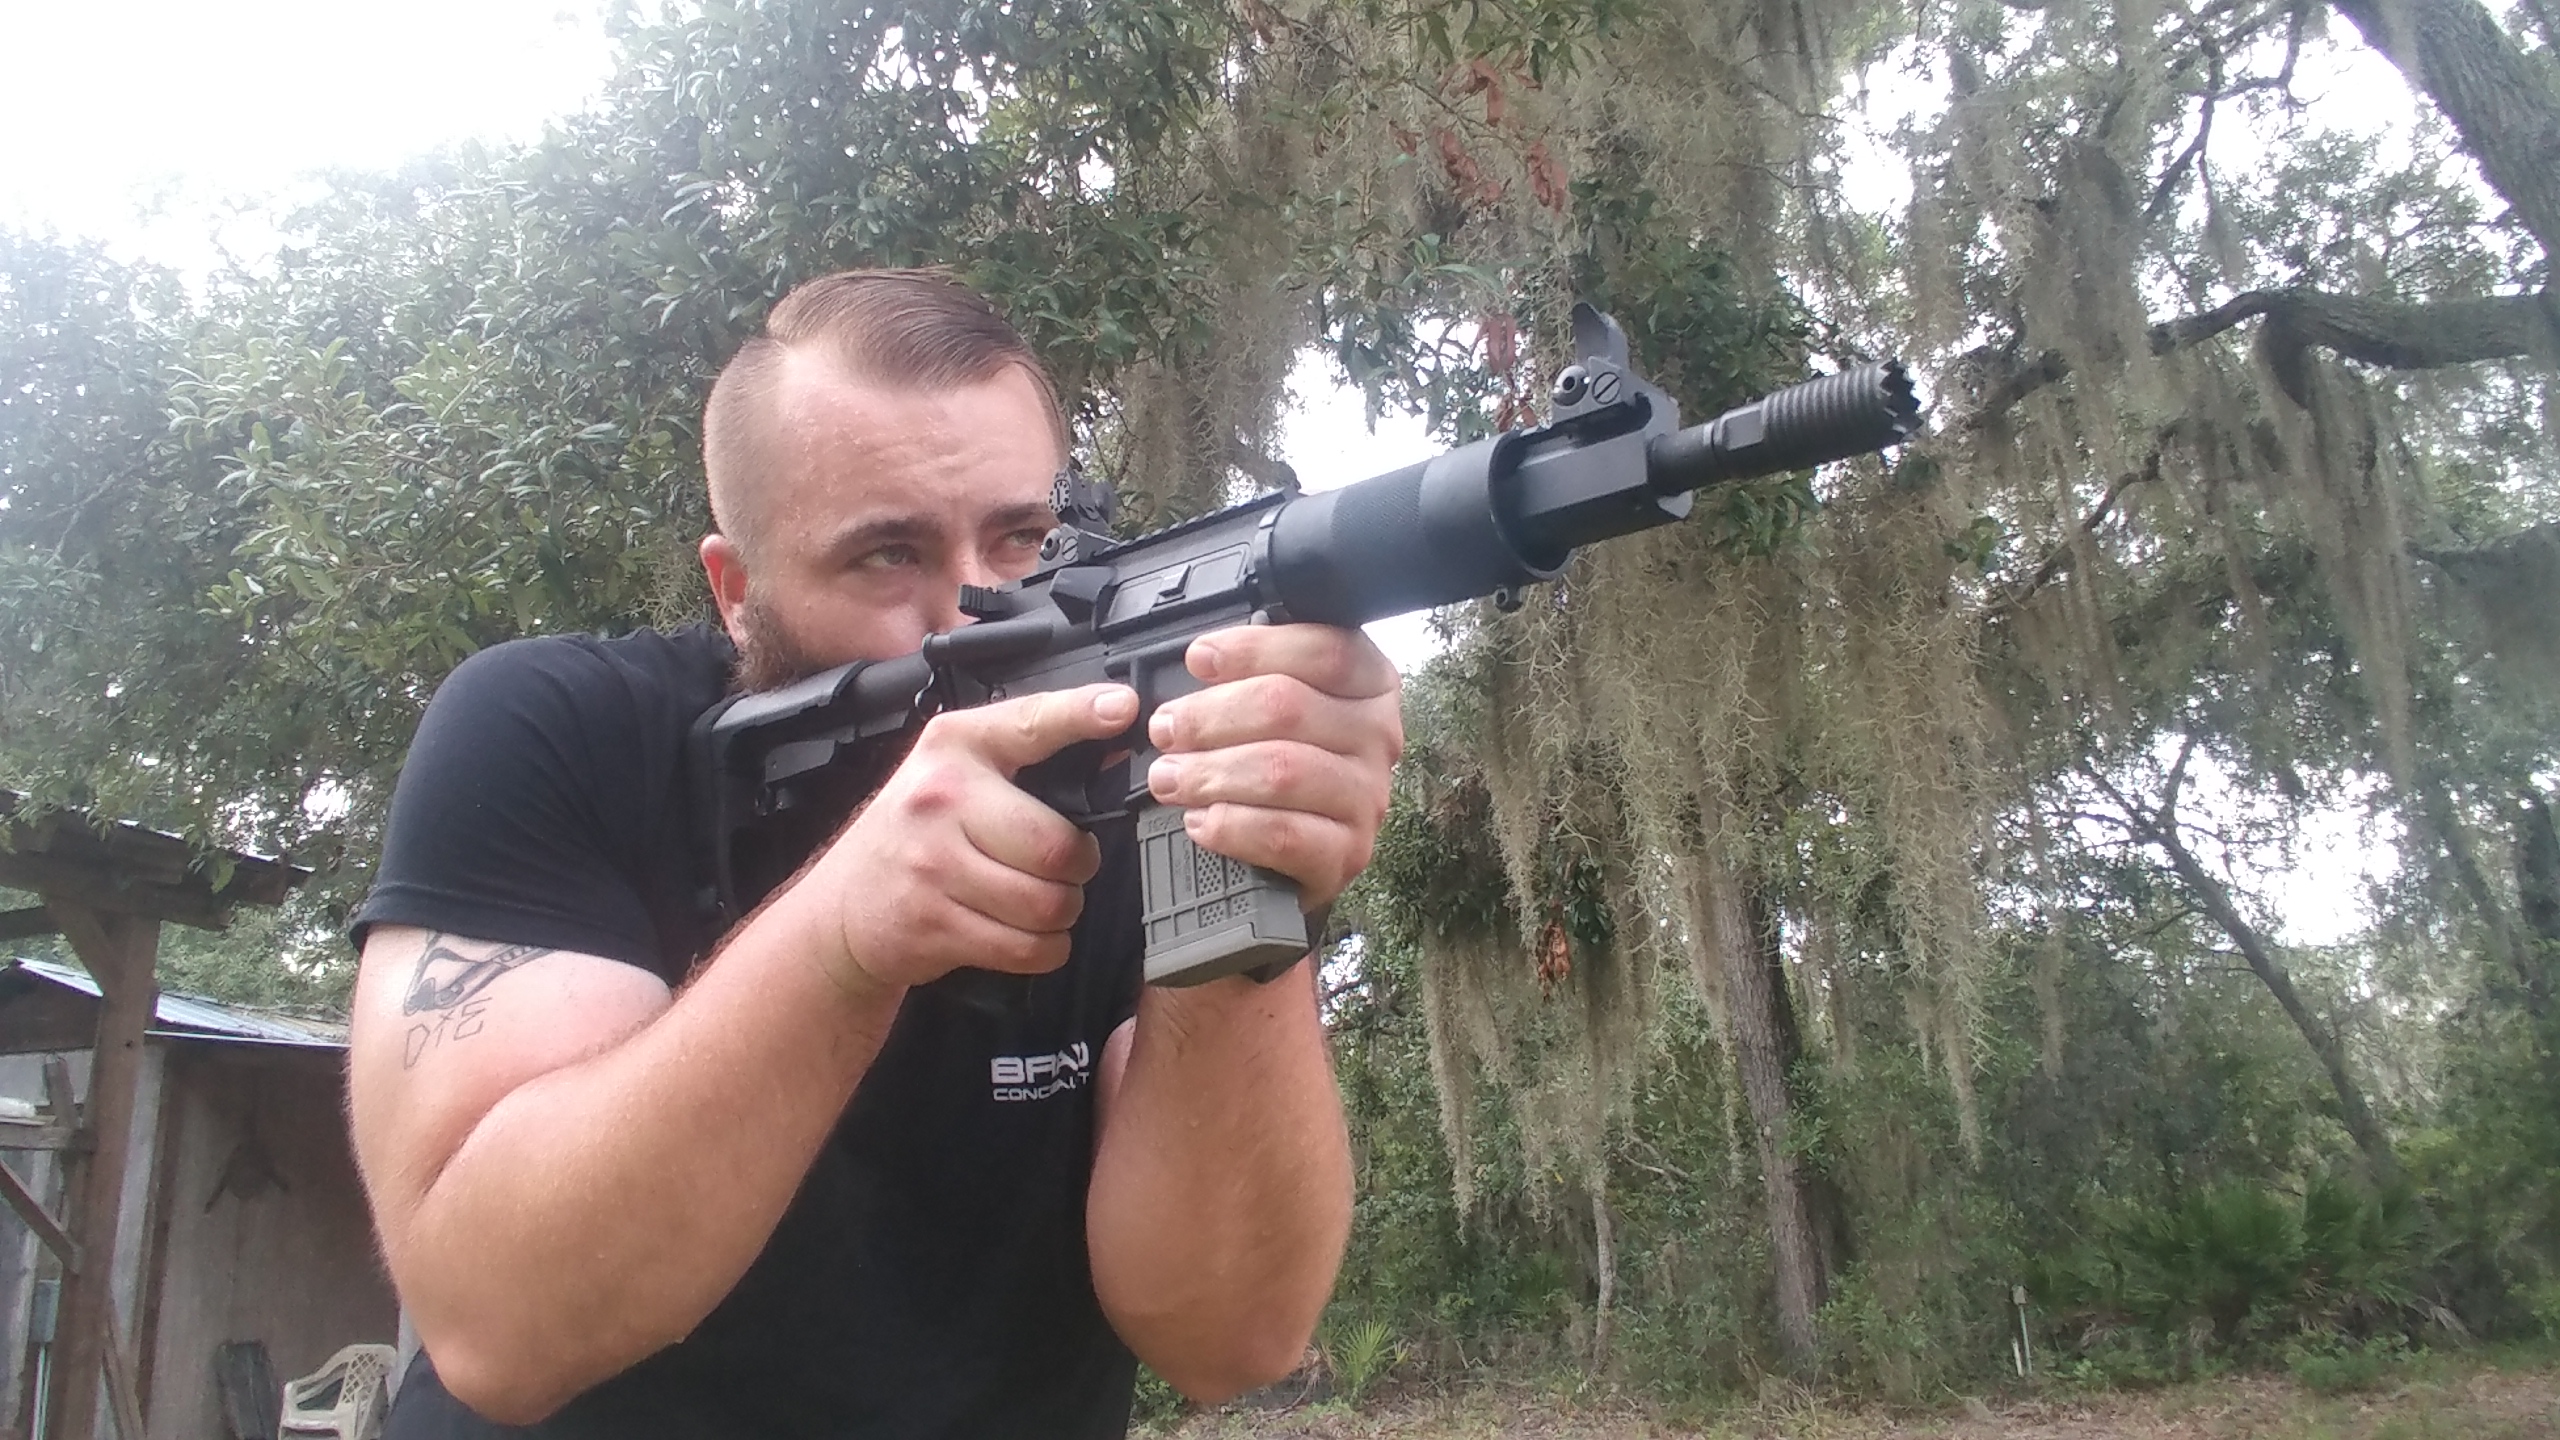
How to Shoot It: Start 5 yards away from the three targets. The drill requires IPSC targets, but any man-sized targets will work. You’ll want to aim for the vital zones of a target. You can work from left to right or right to left. If you do the drill more than once mix it up a bit. Starting on the first target fire a single round, transition to target 2 and fire two rounds, transition to target 3 and fire three shots. You aren’t done yet though. Keep the momentum going and transition back to target 2 and fire four rounds. And to finish the drill transition to target 1 and fire 5 shots. Try to complete this drill in under 5 seconds.
What it Trains: It trains rapid transitions and for you to drive your gun from target to target. It also doesn’t allow you to fall into the trap on firing one or two rounds on target and ending the drill. You get your time down you need to learn a degree of riflery skills. This includes trigger control, body positioning, and recoil and muzzle control.
Port Reload – Shotgun
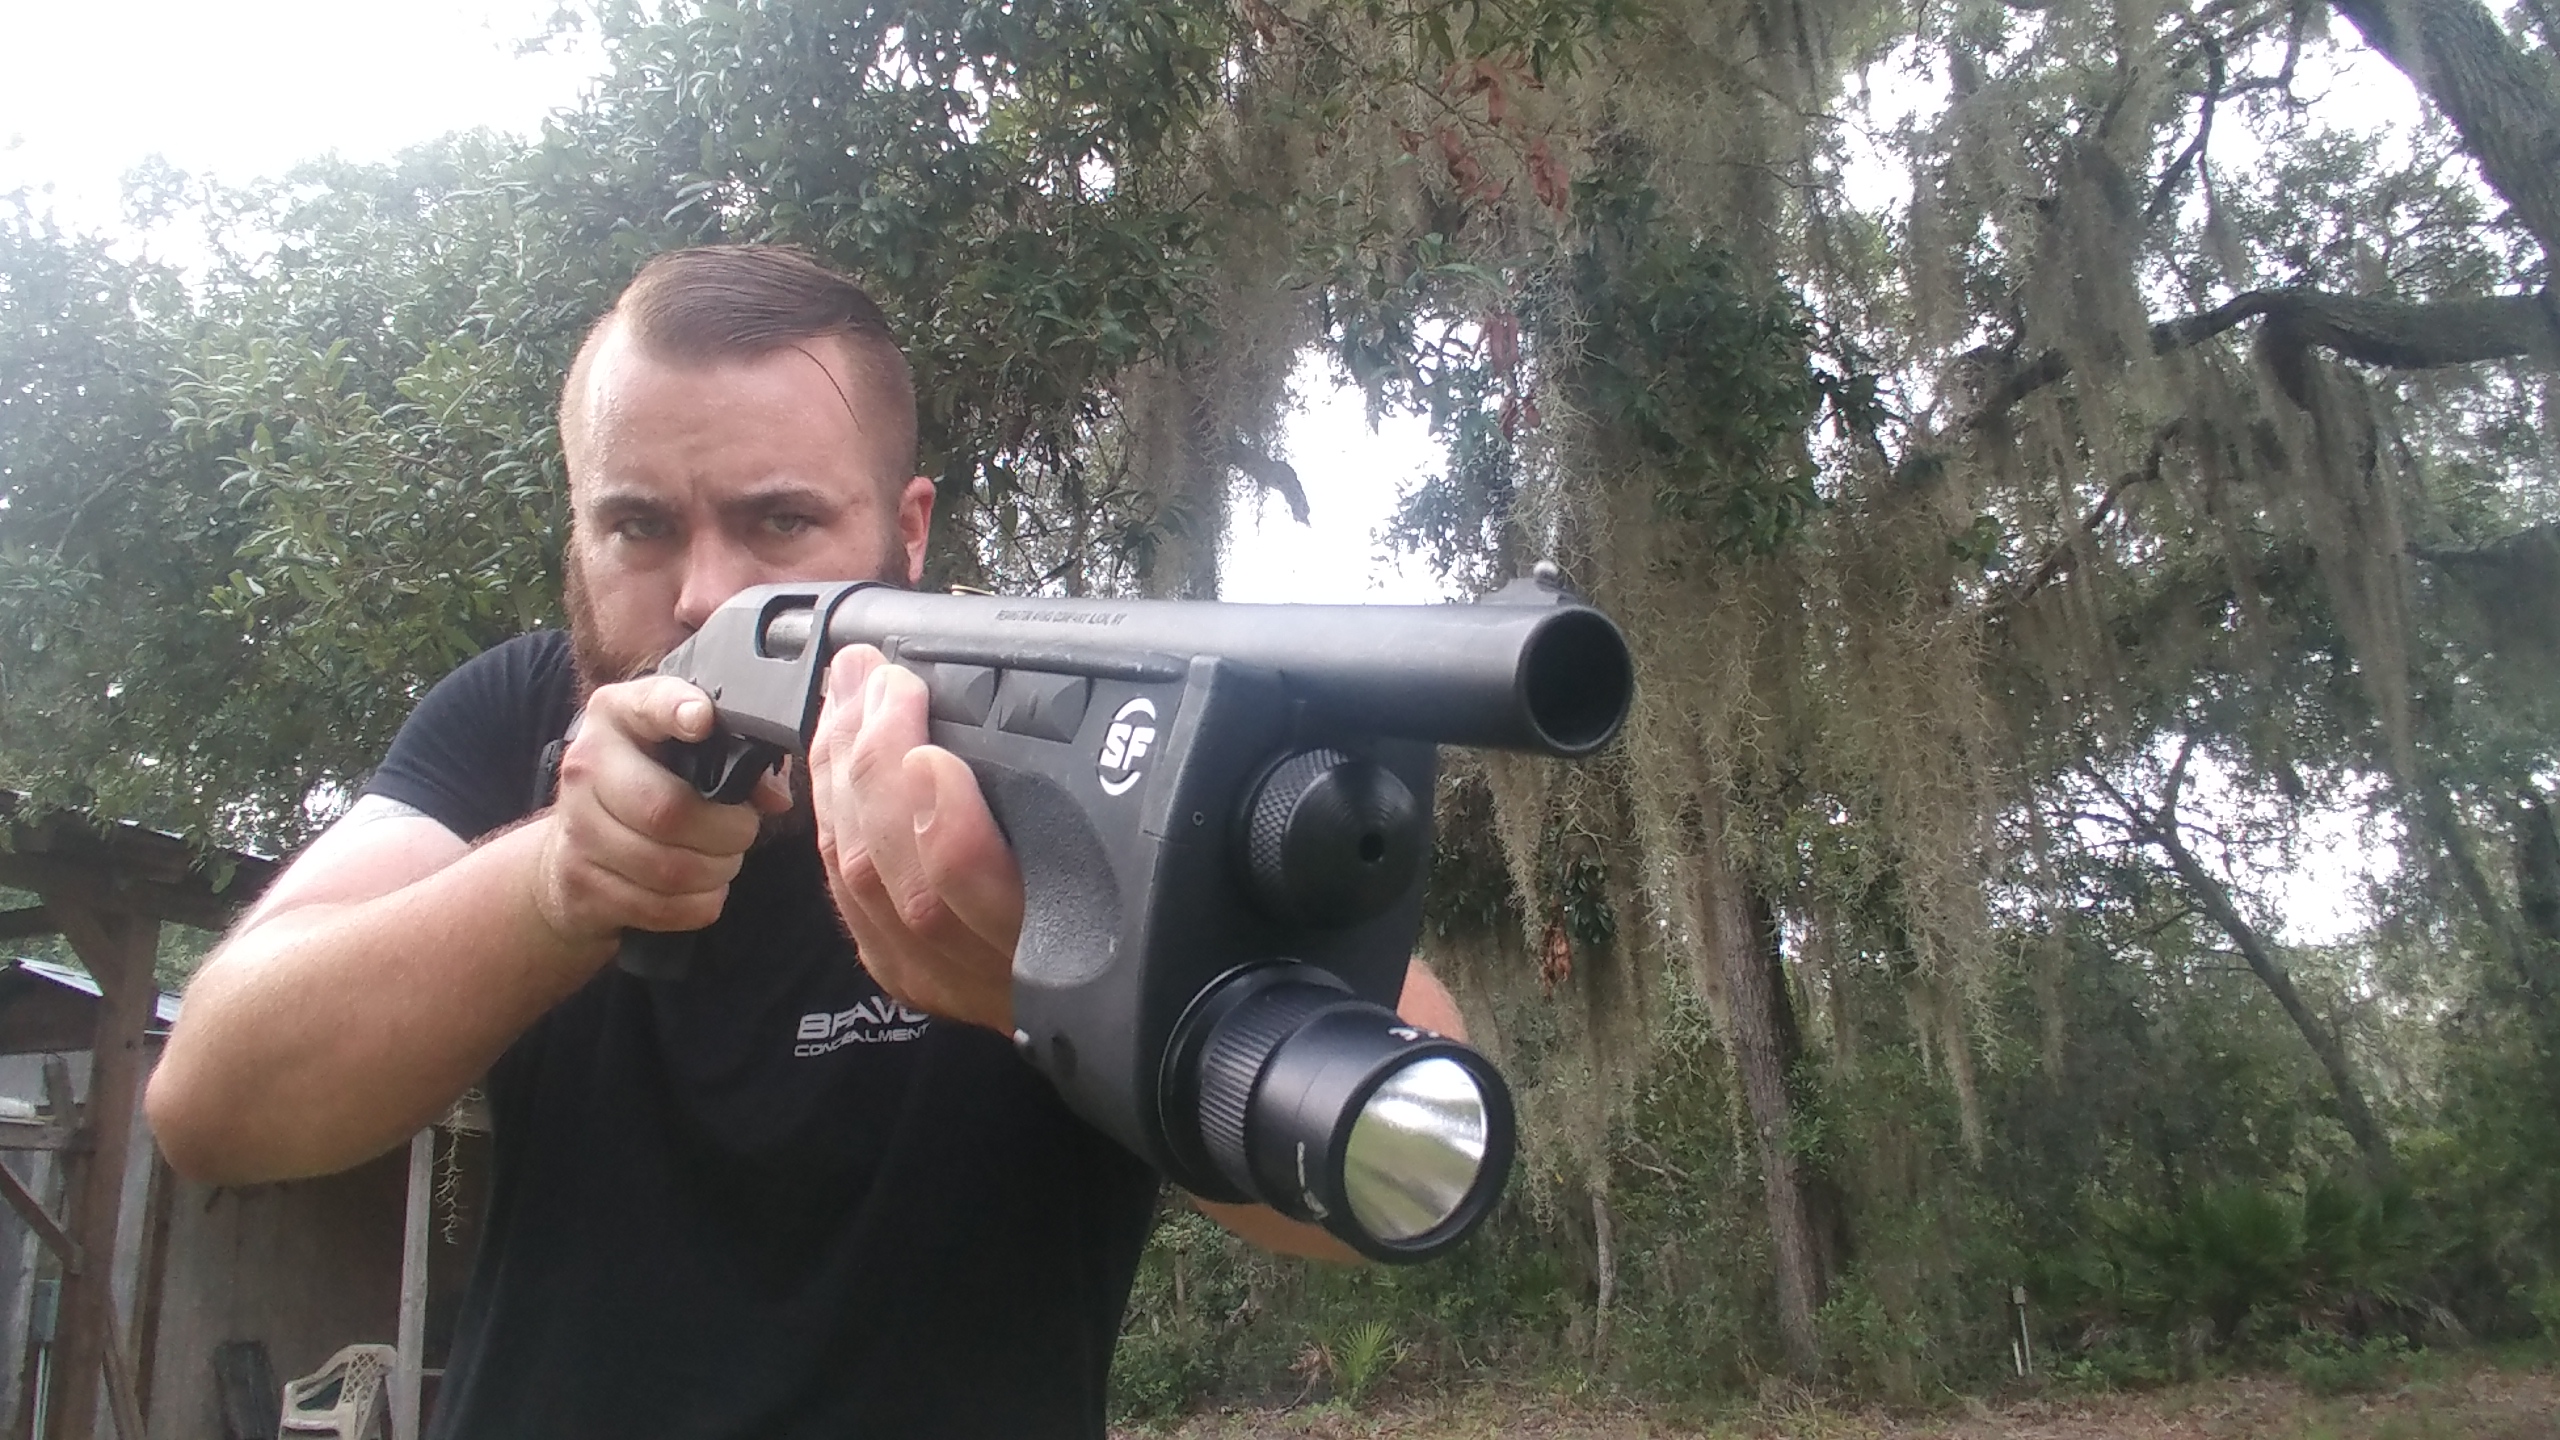
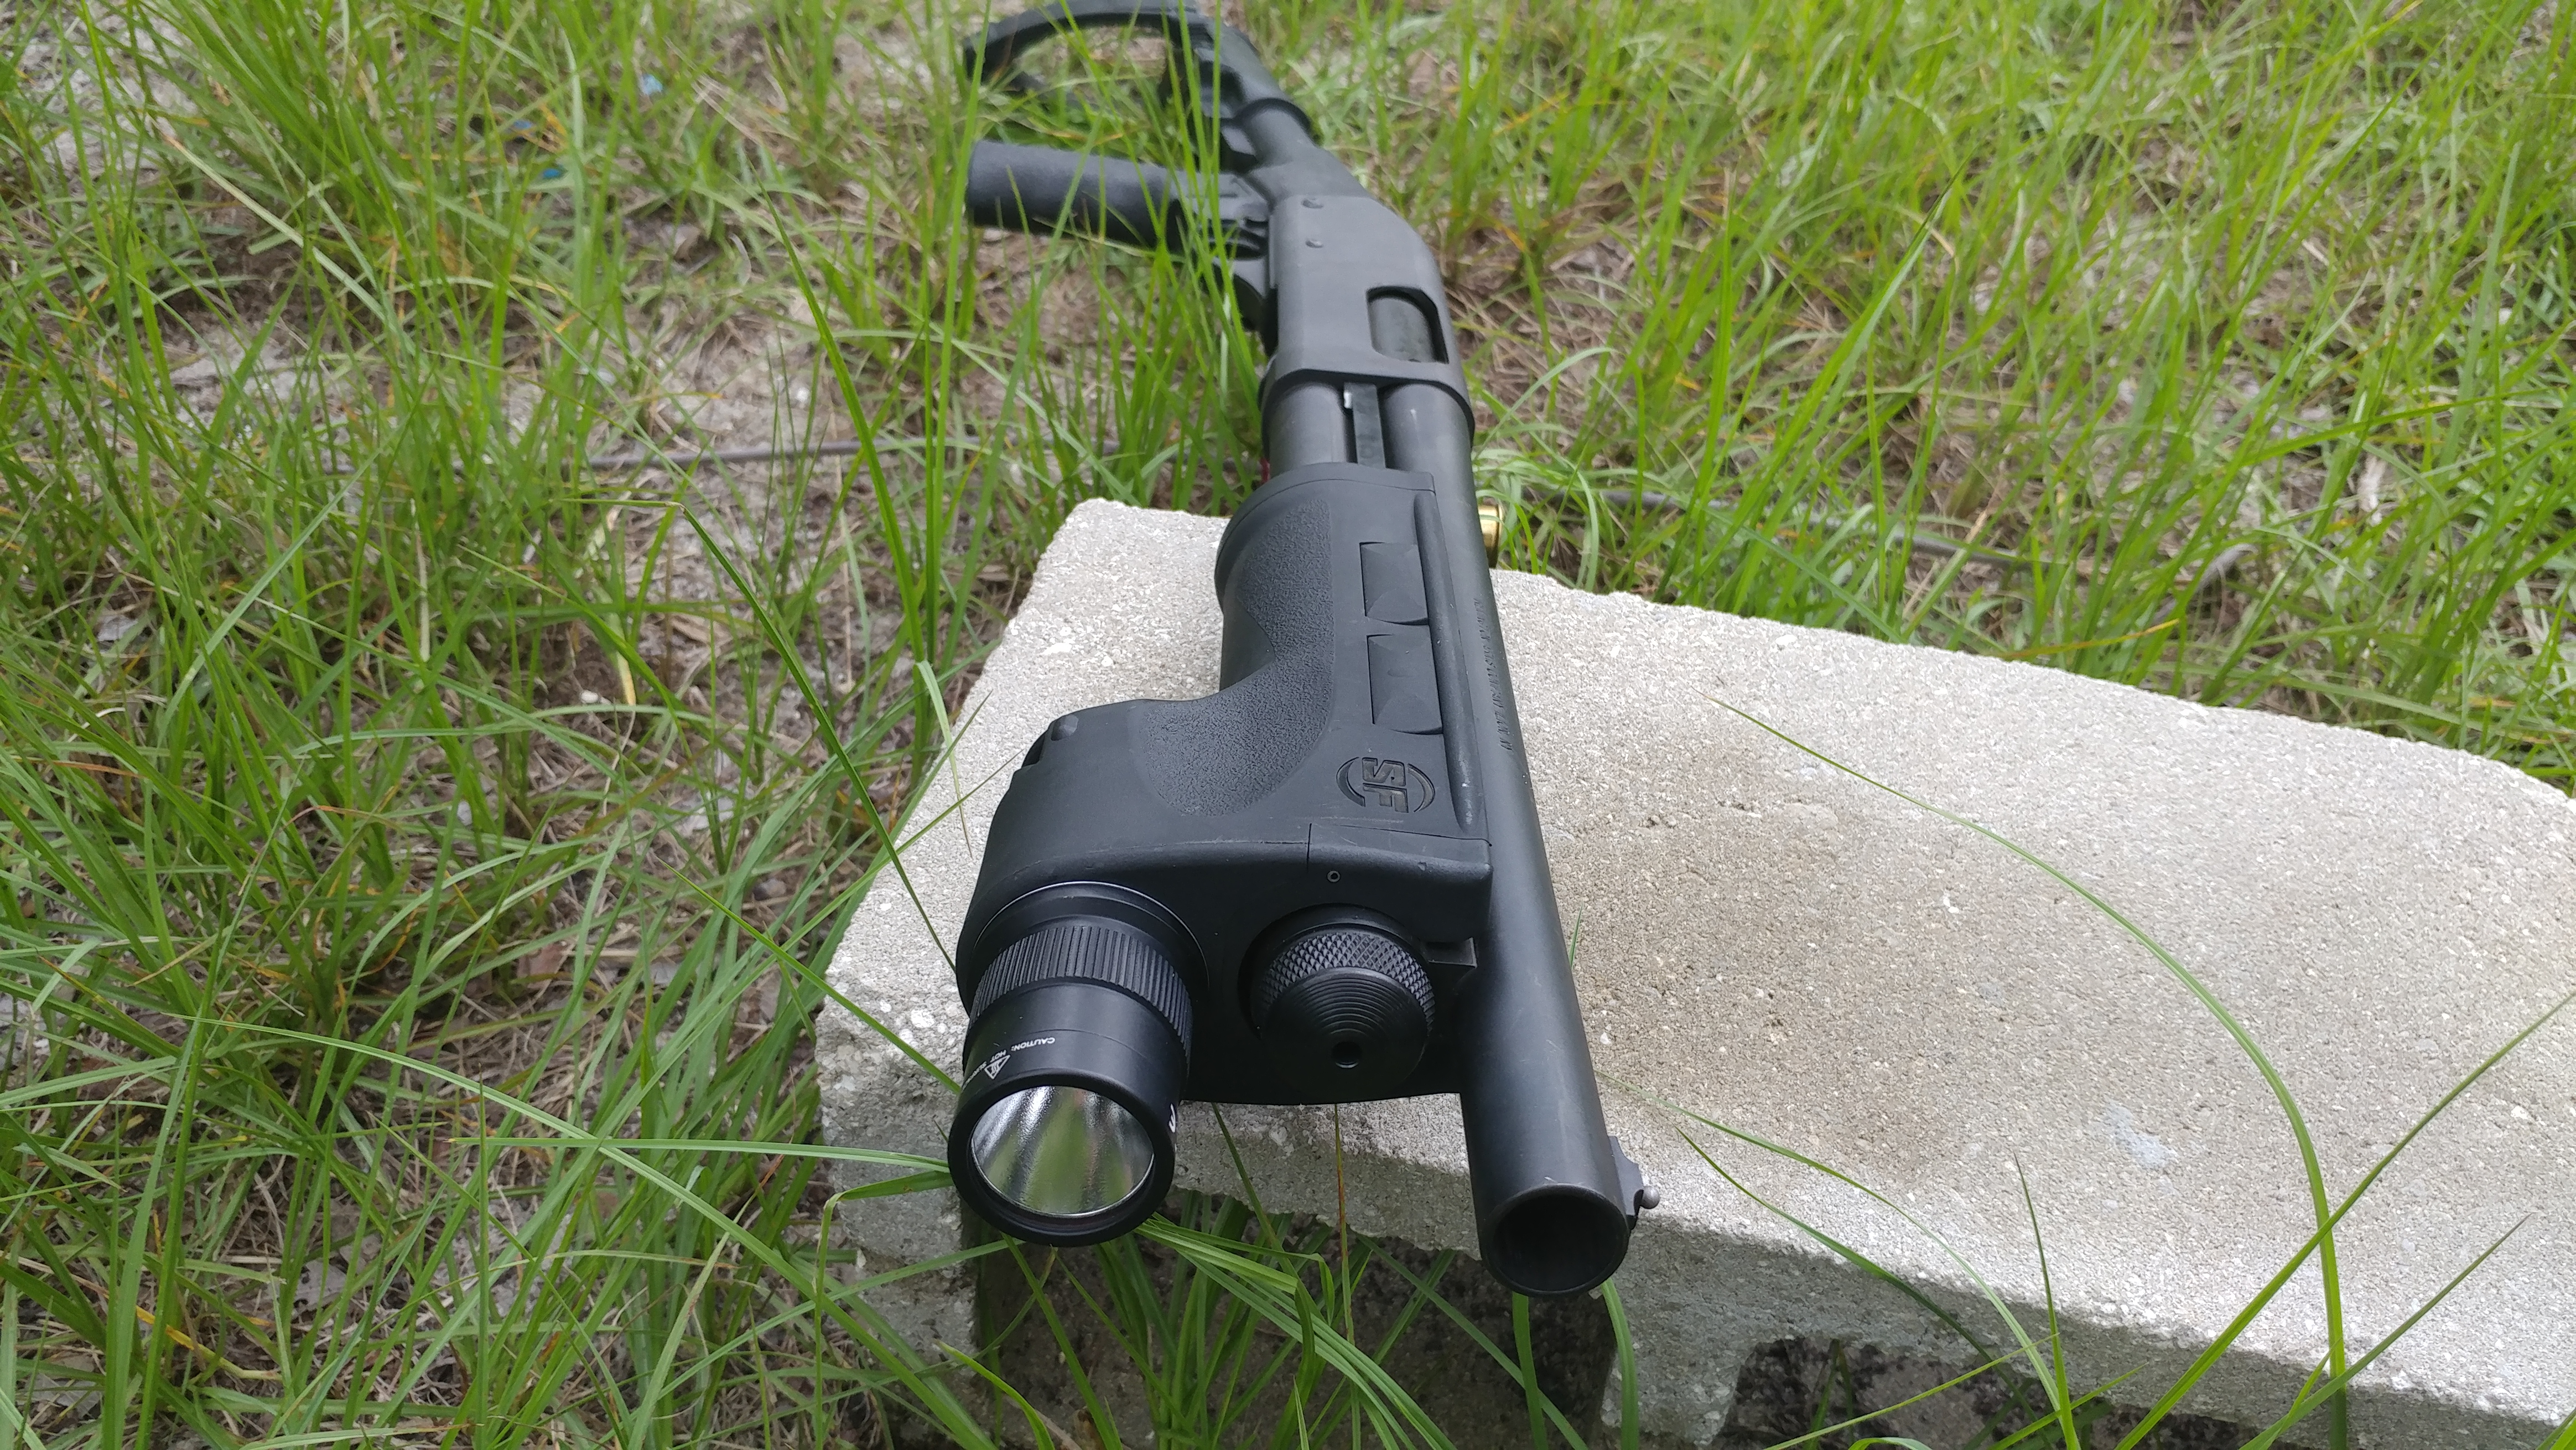
The Port Reload Drill is very simple, but a very important skill to master. A shotgun’s biggest weakness is its low capacity. It’s critical any shotgun operator learns how to reload their weapon effectively. The port reload drill trains shooters to quickly and effectively load an empty shotgun with just one more round. You’ll need a shotgun, a method to hold ammo (side saddle is best), two targets, and two shots per drill.
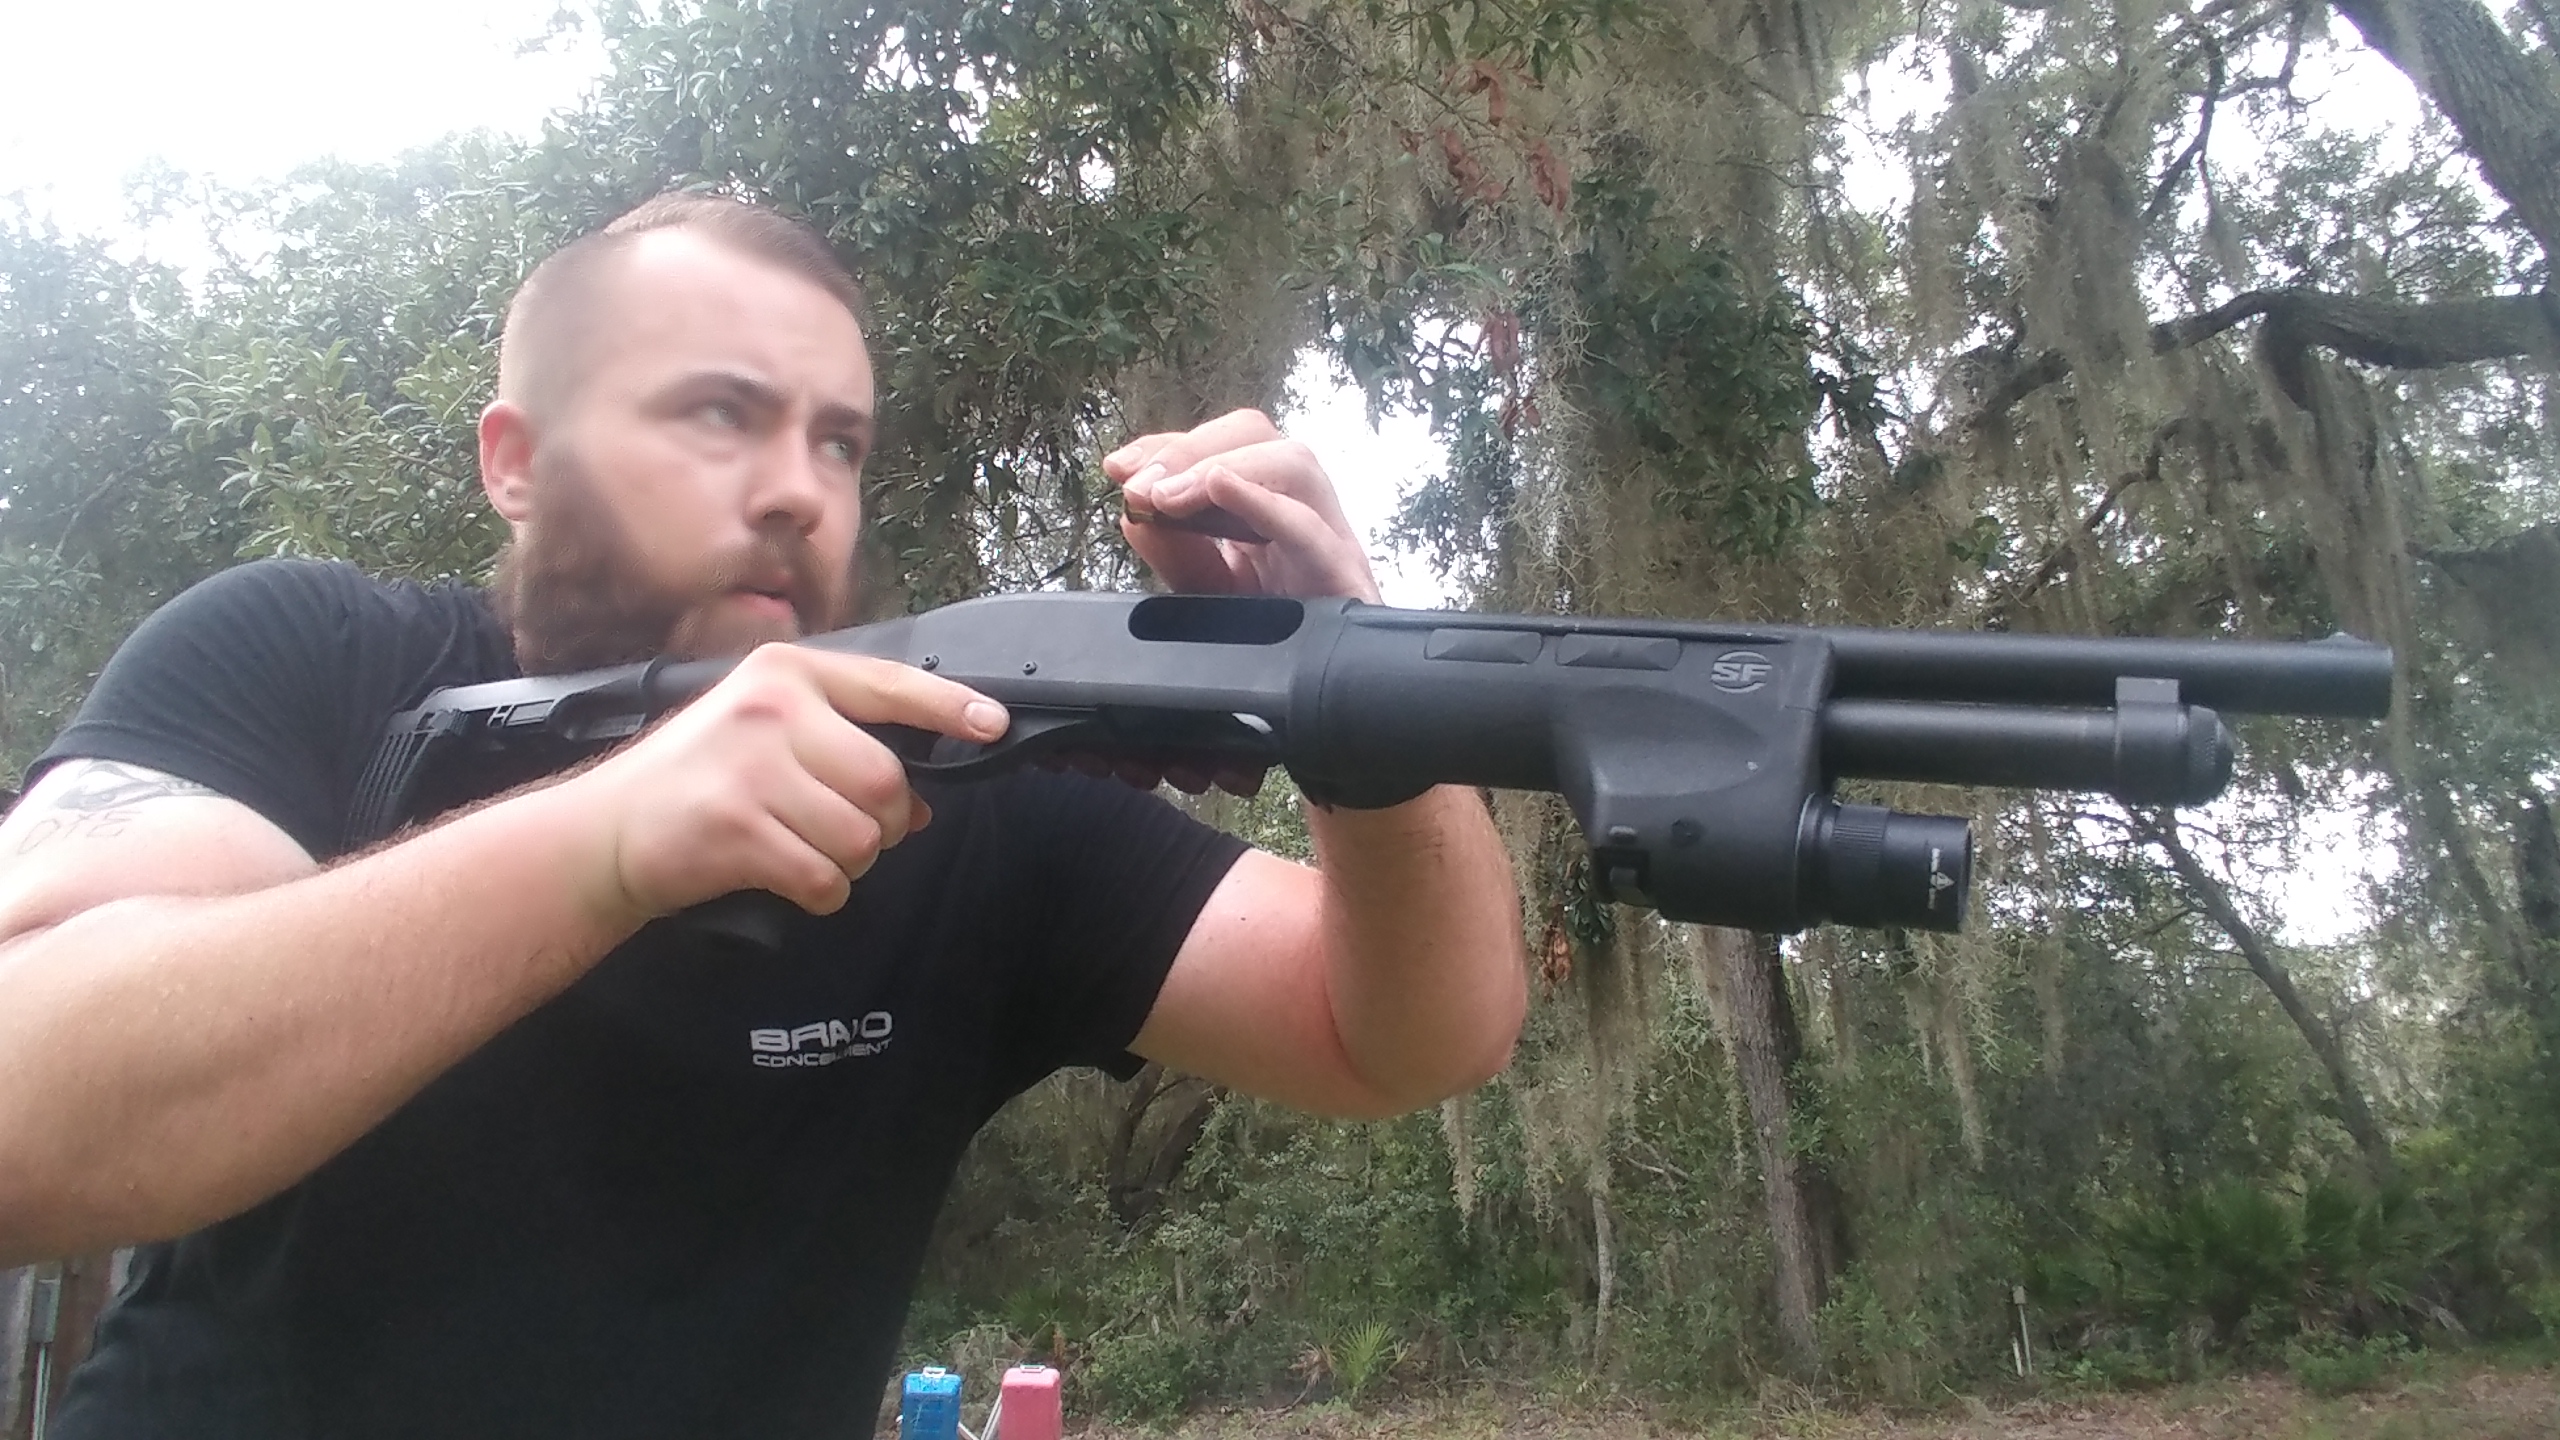
How to Shoot: Start at 10 yards with a round in the chamber, but an overall empty shotgun. The two targets should be one meter apart. Fire one the first target and keep the bolt to the rear. Keep your shotgun pointed down range and with your nonfiring hand retrieve a round of ammunition. Load the round directly through the port and close the bolt. Engage the second target. The drill should be done in about 2 seconds total with a side-saddle ammo carrier.
What it Trains: Your ability to quickly reload and re-engage a target is the primary purpose of this drill. It helps build reloading into a habit, and the faster you reload the shotgun, the deadlier you will be. You’ll gain a better understanding of the shotgun’s manual of arms, as well as what makes a shotgun tick.
Mozambique Drill
The Mozambique drill is a classic drill that Jeff Cooper advocated. Mike Rousseau essentially invented the drill in an actual firefight. The exercise is all about proper shot placement and covering your butt. It’s one of those drills that ensure you get the job done when the fight starts. The Mozambique drill is perfect for beginners and experts to learn and exercise with. You need a handgun or rifle, three rounds, one magazine, and one target. If using a handgun you need a holster.
How To Shoot It: You can start at essentially any range, although the drill is for close quarter’s use so let’s start it at 10 yards or less. The exercise begins with the gun holstered or at the low ready, loaded with at least 3 rounds. On the go signal, draw the gun and fire two rounds to the chest immediately transition and place one well-aimed shot to the head. Your goal should be to do this in under 2.5 seconds, and even under 2 seconds is possible.
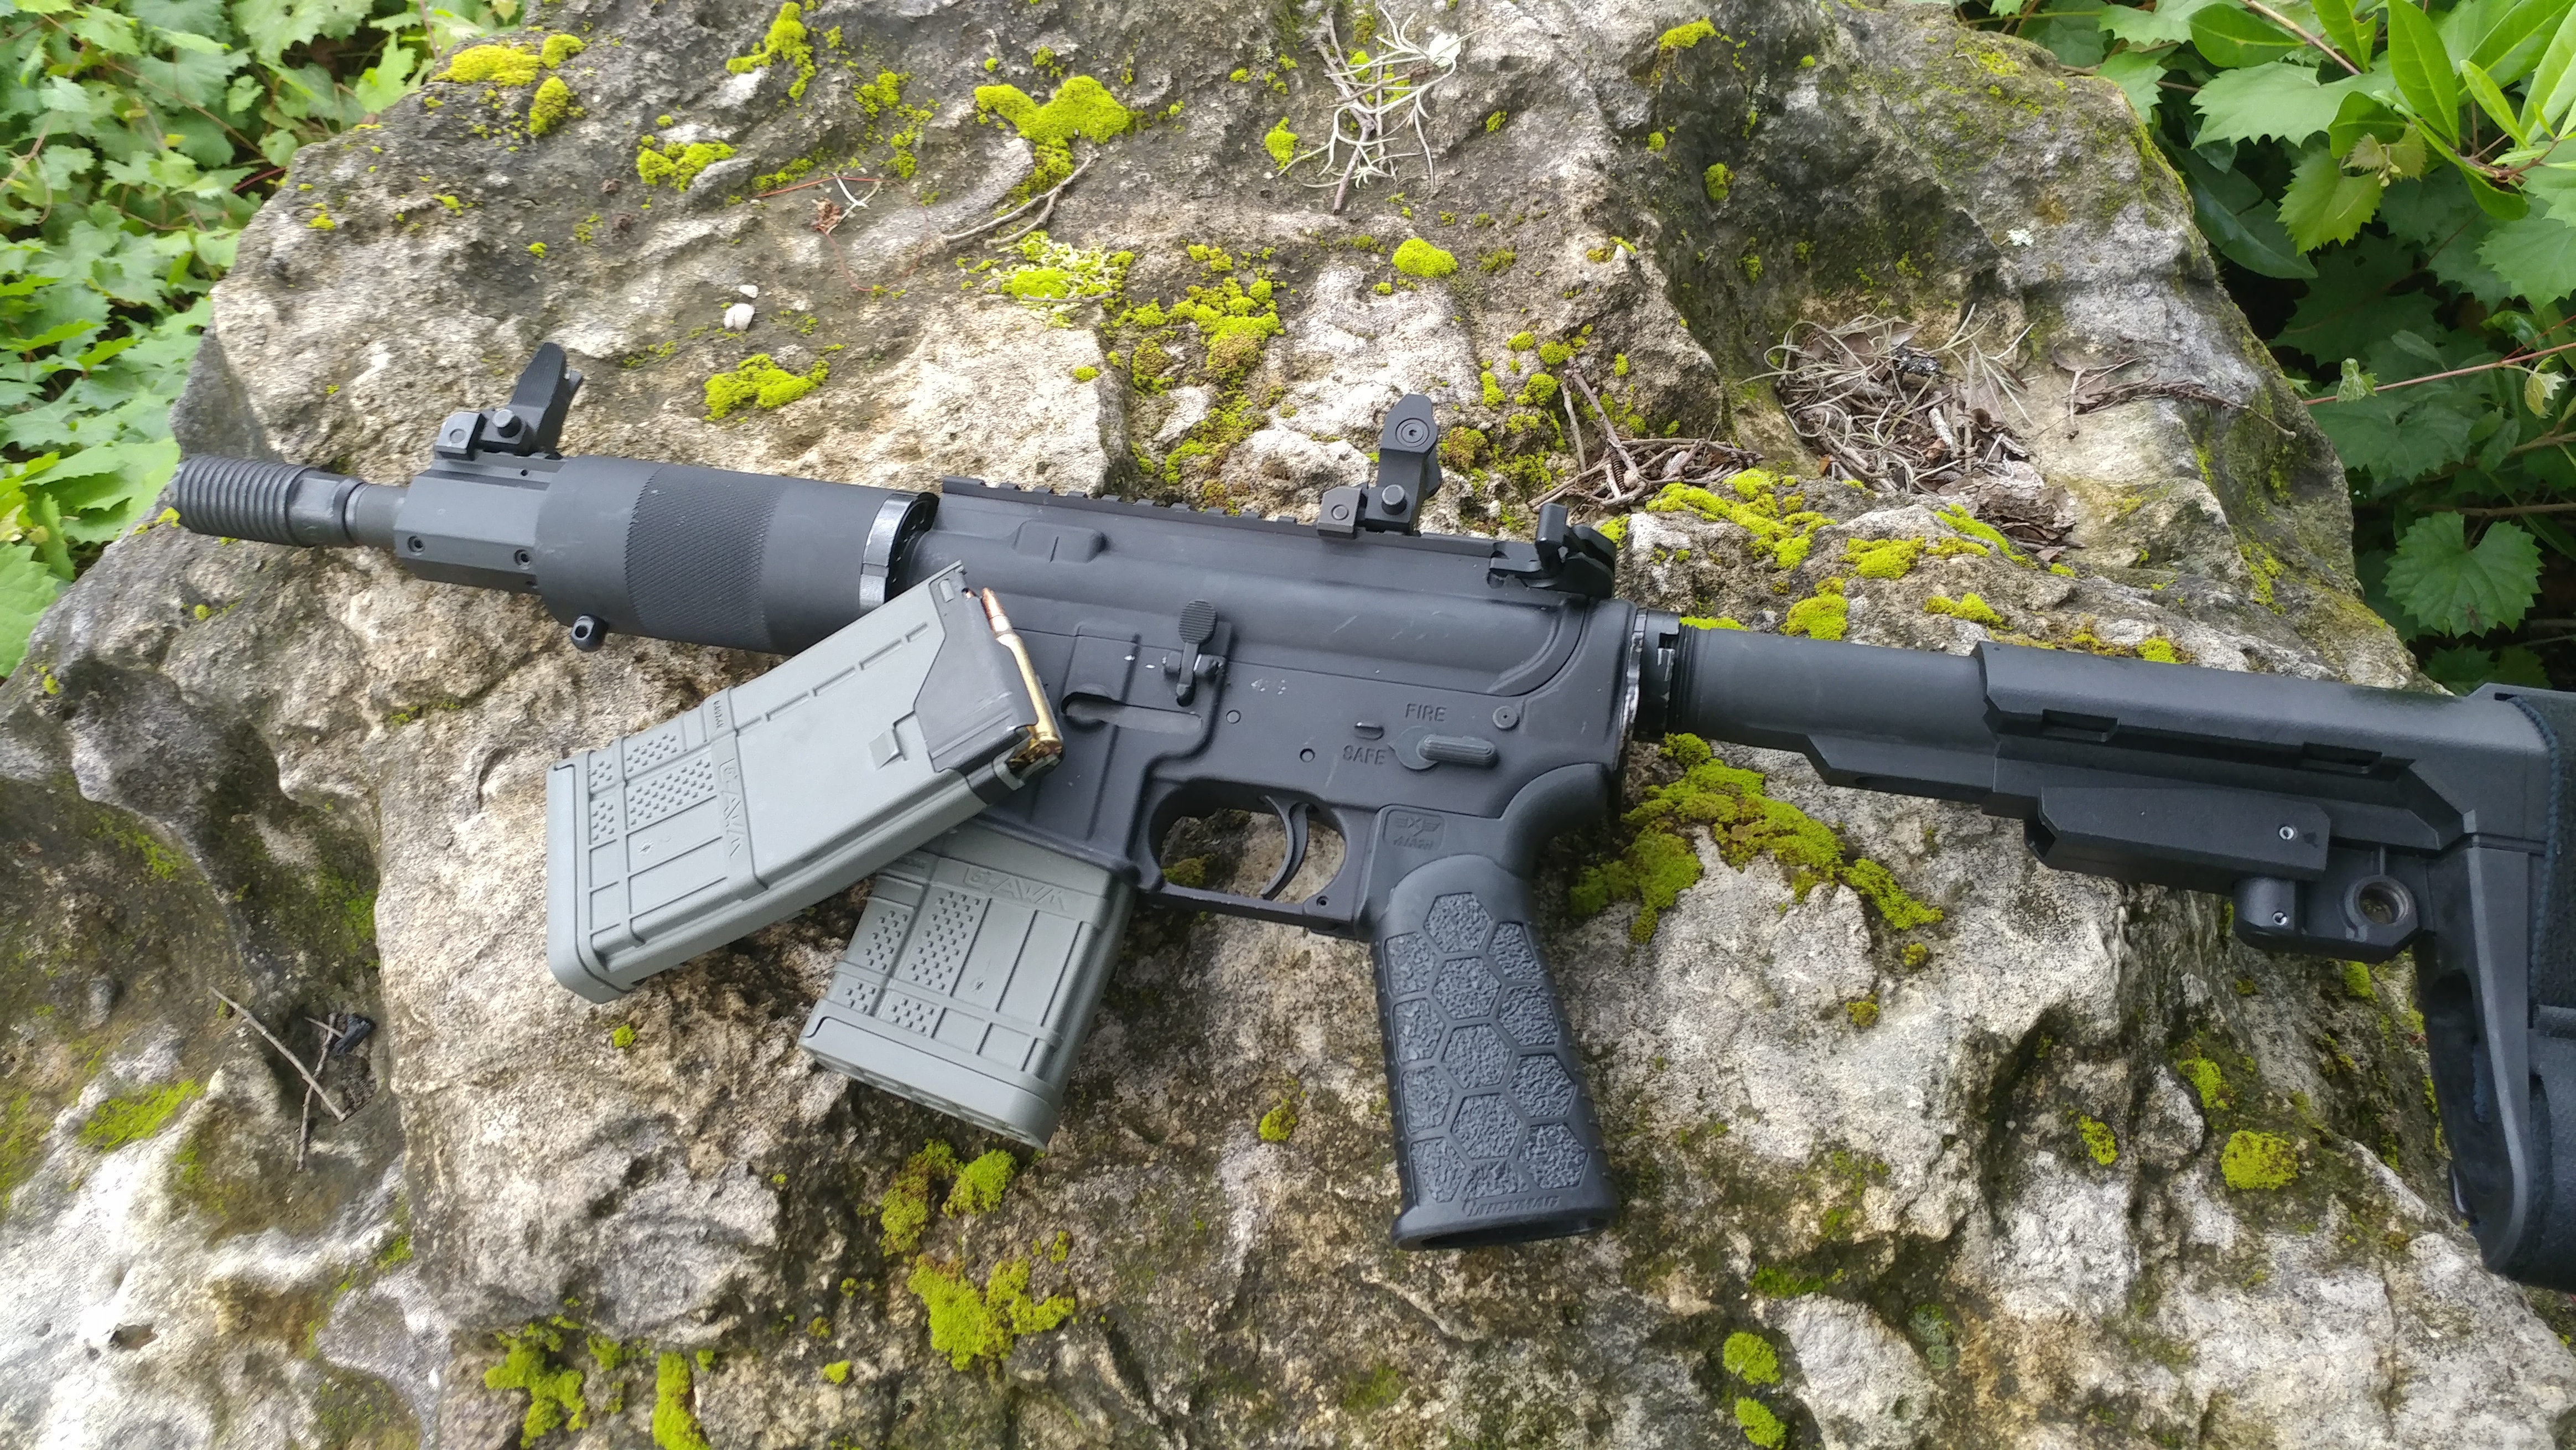
What it Trains: Obviously, it’s going to train your ability to draw your firearm rapidly. On top of that, you’ll be learning about shot placement and forming an excellent set of skills for getting proper shot placement regardless of the situation. You’ll learn to transition from chest to head with confidence.
F.A.S.T.
The F.A.S.T. drill which is short for Fundamentals, Accuracy, and Speed Test is one helluva hard drill to master, but when you do you’ll be a competent shooter. The Drill requires you to have one target, a 3×5 card, an 8-inch paper plate as well as a target backer. You’ll need two magazines, one loaded with 2 rounds and one loaded with 4 rounds. You’ll also need a mag pouch, a holster, and a shot timer. If you are not using a retention holster, you must fire the drill from concealment.
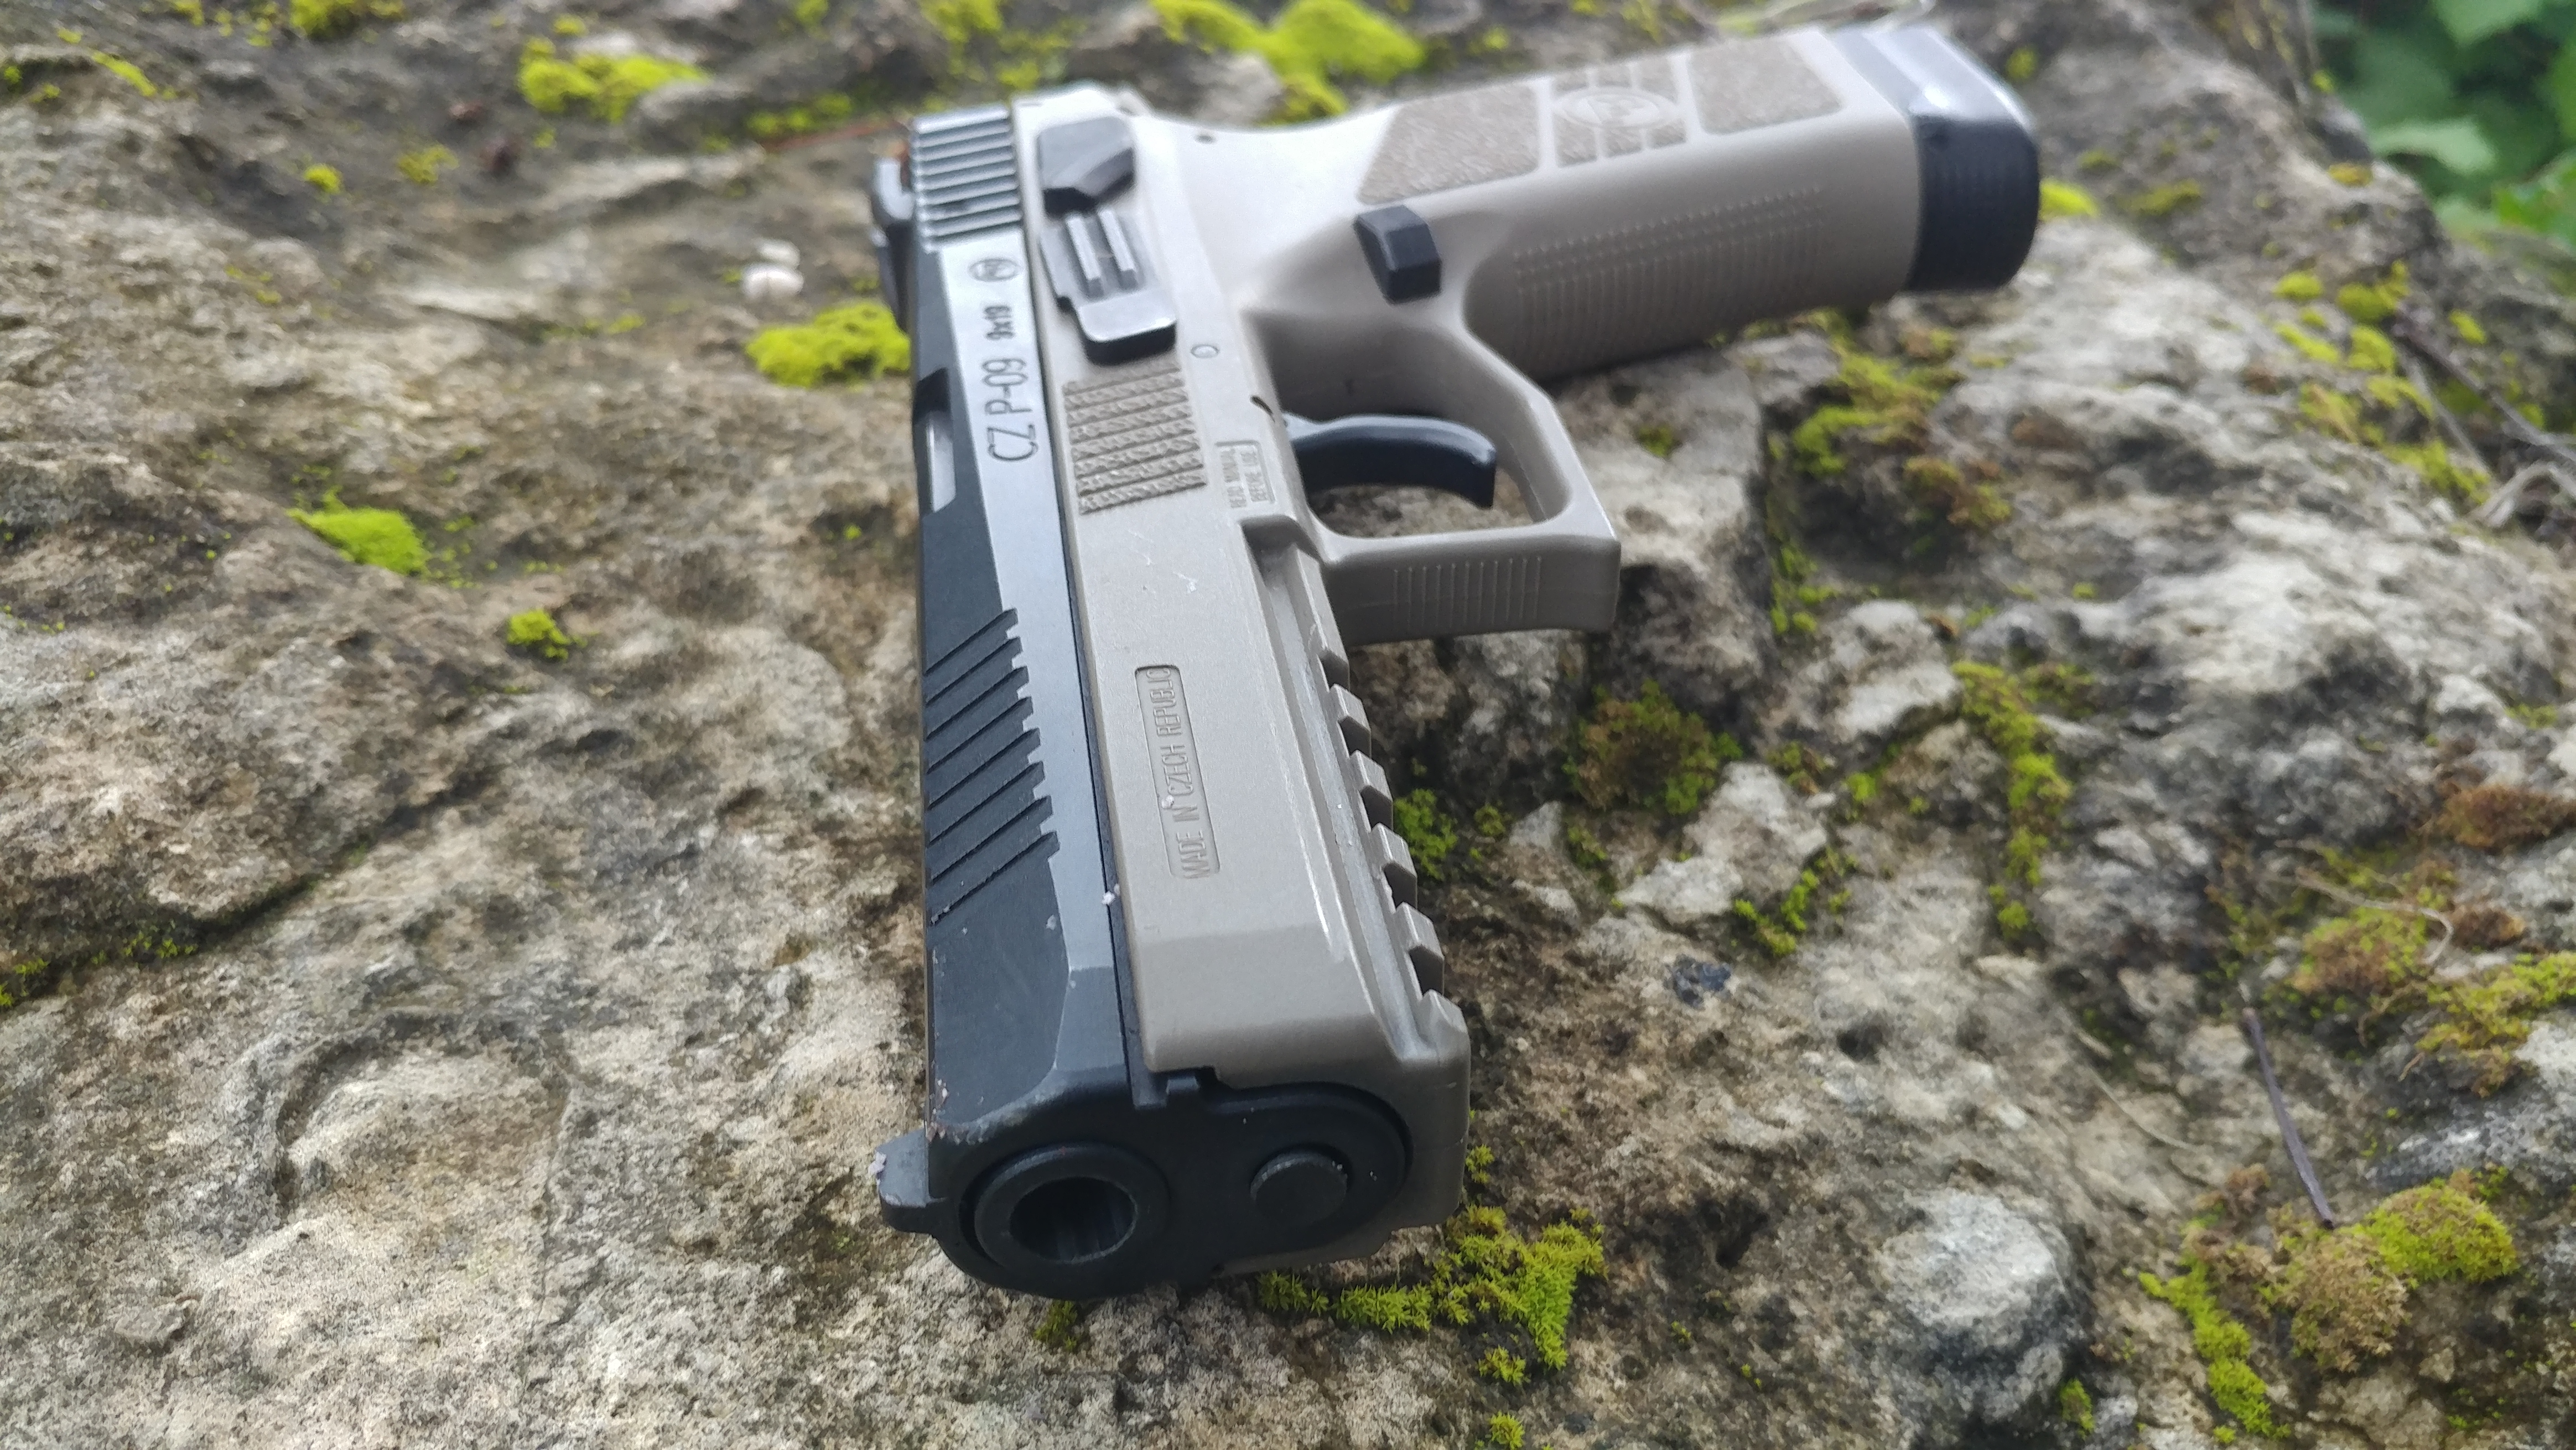
How to Shoot It: The drill is done at seven yards with the handgun holstered and one in the chamber. The plate is set on the torso of the target, and the 3×5 card is placed on the head. At the start signal, you draw, and fire two rounds into the head of the target, then perform a slide lock reload with the spare magazine. Fire the 4 shots into the plate.
If you miss you fail. Take your time with this drill and go for accuracy over speed. Speed comes with time. However, speed is how you judge your skill as a shooter. There are four rankings for this drill.
10+ seconds: Novice
Less than 10 seconds: Intermediate
Less than 7 seconds: Advanced
Less than 5 seconds: Expert
It’s a tough drill but is a good way to learn and test skills. The Target can be found here and can be printed at home.
What it Trains: Speed and accuracy, the two most important skills a self-defense shooter can have. You’ll also develop the ability to draw and get onto a relatively small target quite quickly. There is also an established time and accuracy standard which gives you realistic goals to hit.
Getting Drilled
Drills are an excellent way to build your skills and to test yourself. They shake up a normal range trip and can help you hone those skills to a razor’s edge. They also just so happen to be fun and challenging.
Throw a few of these into your training rotation and let us know how they flow!
ABOUT THE AUTHOR:
Travis Pike is a former Marine Machine gunner who served with 2nd Bn 2nd Marines for 5 years. He deployed in 2009 to Afghanistan and again in 2011 with the 22nd MEU(SOC) during a record-setting 11 months at sea. Travis has trained with the Romanian Army, the Spanish Marines, the Emirate Marines, and the Afghan National Army.
He serves as an NRA certified pistol instructor and pursues a variety of firearms based hobbies.
![]() You may also enjoy these popular articles:
You may also enjoy these popular articles:


©MTC Holsters, LLC and CrossBreed Holsters Blog, 2018.
Unauthorized use and/or duplication of this material without express and written permission from this site’s author and/or owner is strictly prohibited. Excerpts and links may be used, provided that full and clear credit is given to Travis Pike and the CrossBreed Blog with appropriate and specific direction to the original content.

